
As per my previous post on sugar cookies, here is part deux discussing the decoration of said cookies!
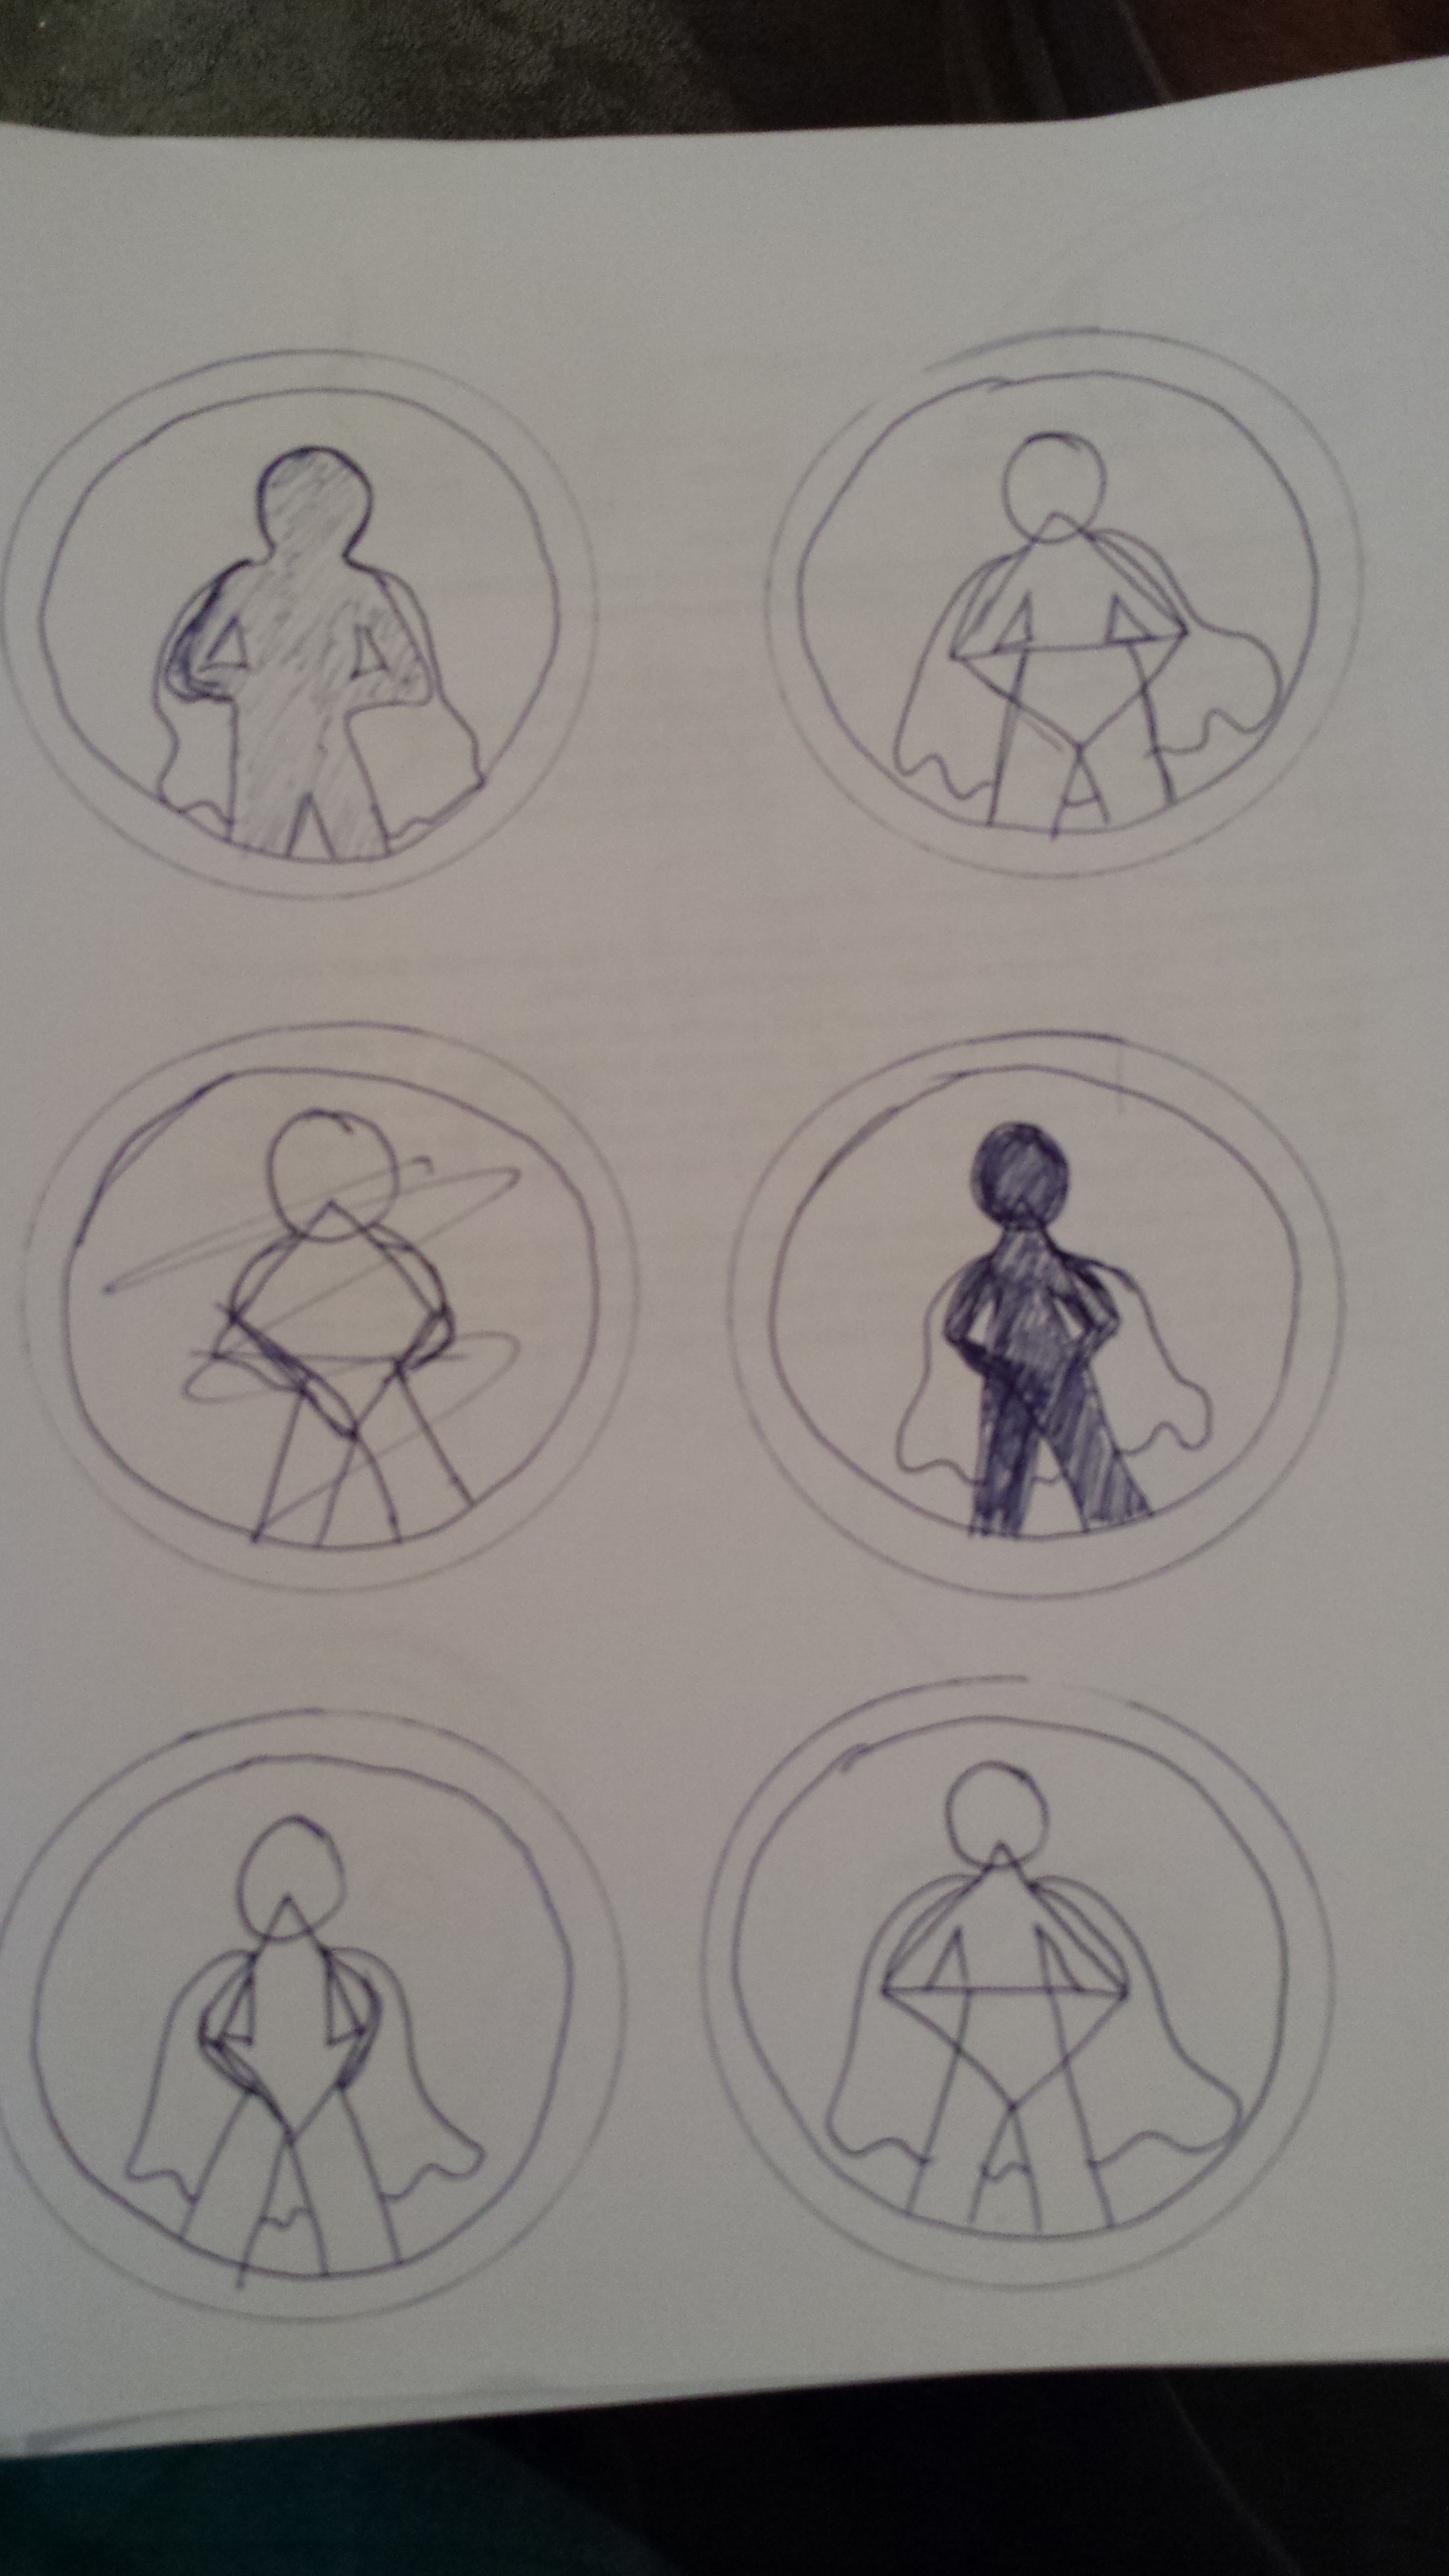
The client’s United Way theme this year was “Be The Hero”, and my inspiration picture was of a hero’s silhouette in white with a cape and the UWay logo on the chest. Well, I wasn’t hand-drawing the UW logo on 200 cookies for the very low amount I was charging (hey, I’m a sucker for a good cause…), but I did decide to play around with the hero silhouette. I practiced several times to see what I could free draw, then I went to town!
Once all the cookies were baked off and cooled overnight, I made up heroic quantities of royal icing for decorating (this is a great and simple recipe I remember to this day, as it was given to me by a former pastry colleague who used to work in a custom cookie bakery and made this stuff all day long):
Royal Icing:
- 90g egg whites, room temperature (I strongly recommend using pasteurized egg whites)
- 1 tbsp lemon juice
- 500g icing sugar, sifted
- 1-2 drops candy flavour or colour (optional)
Add the egg whites and lemon juice together in a tabletop mixer (you will be using the whip attachment), then add the icing sugar carefully as it mixes slowly, scraping with a spatula as necessary until all the sugar has been incorporated into the egg whites. The mixture should be slightly yellowish and translucent. Start the mix at medium speed and allow to whip, scraping down the bowl once or twice as needed, for about 7-9 minutes, or until the whites have become opaque and perfectly white. This is the time to add any flavours or colours. Do NOT use the standard liquid colours or flavours from the grocery store; they are very diluted and you need to add too much to gain any flavour, which will alter the consistency of your royal icing; I recommend using candy oils and gel, paste, or powder food colouring if you need coloured royal icing.
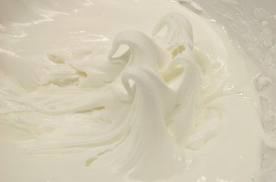 Check for consistency: if making piping royal icing (for borders and “spackle” needed to hold together a gingerbread house), you are looking for medium peaks; you should be able to pipe it out of a Size 0 or 1 tip without much effort and it should hold its shape. It is always best to make your basic batch of icing stiff and loosen it from there as desired.
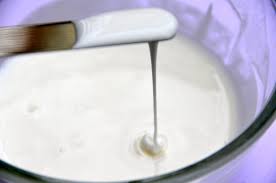 If you are making runout or “flow” royal icing, you are looking for no peaks, and in fact it should drizzle slowly off a spoon. If your original batch of icing is too stiff, add some warm water, 1 tbsp at a time, and mix until desired consistency is reached.
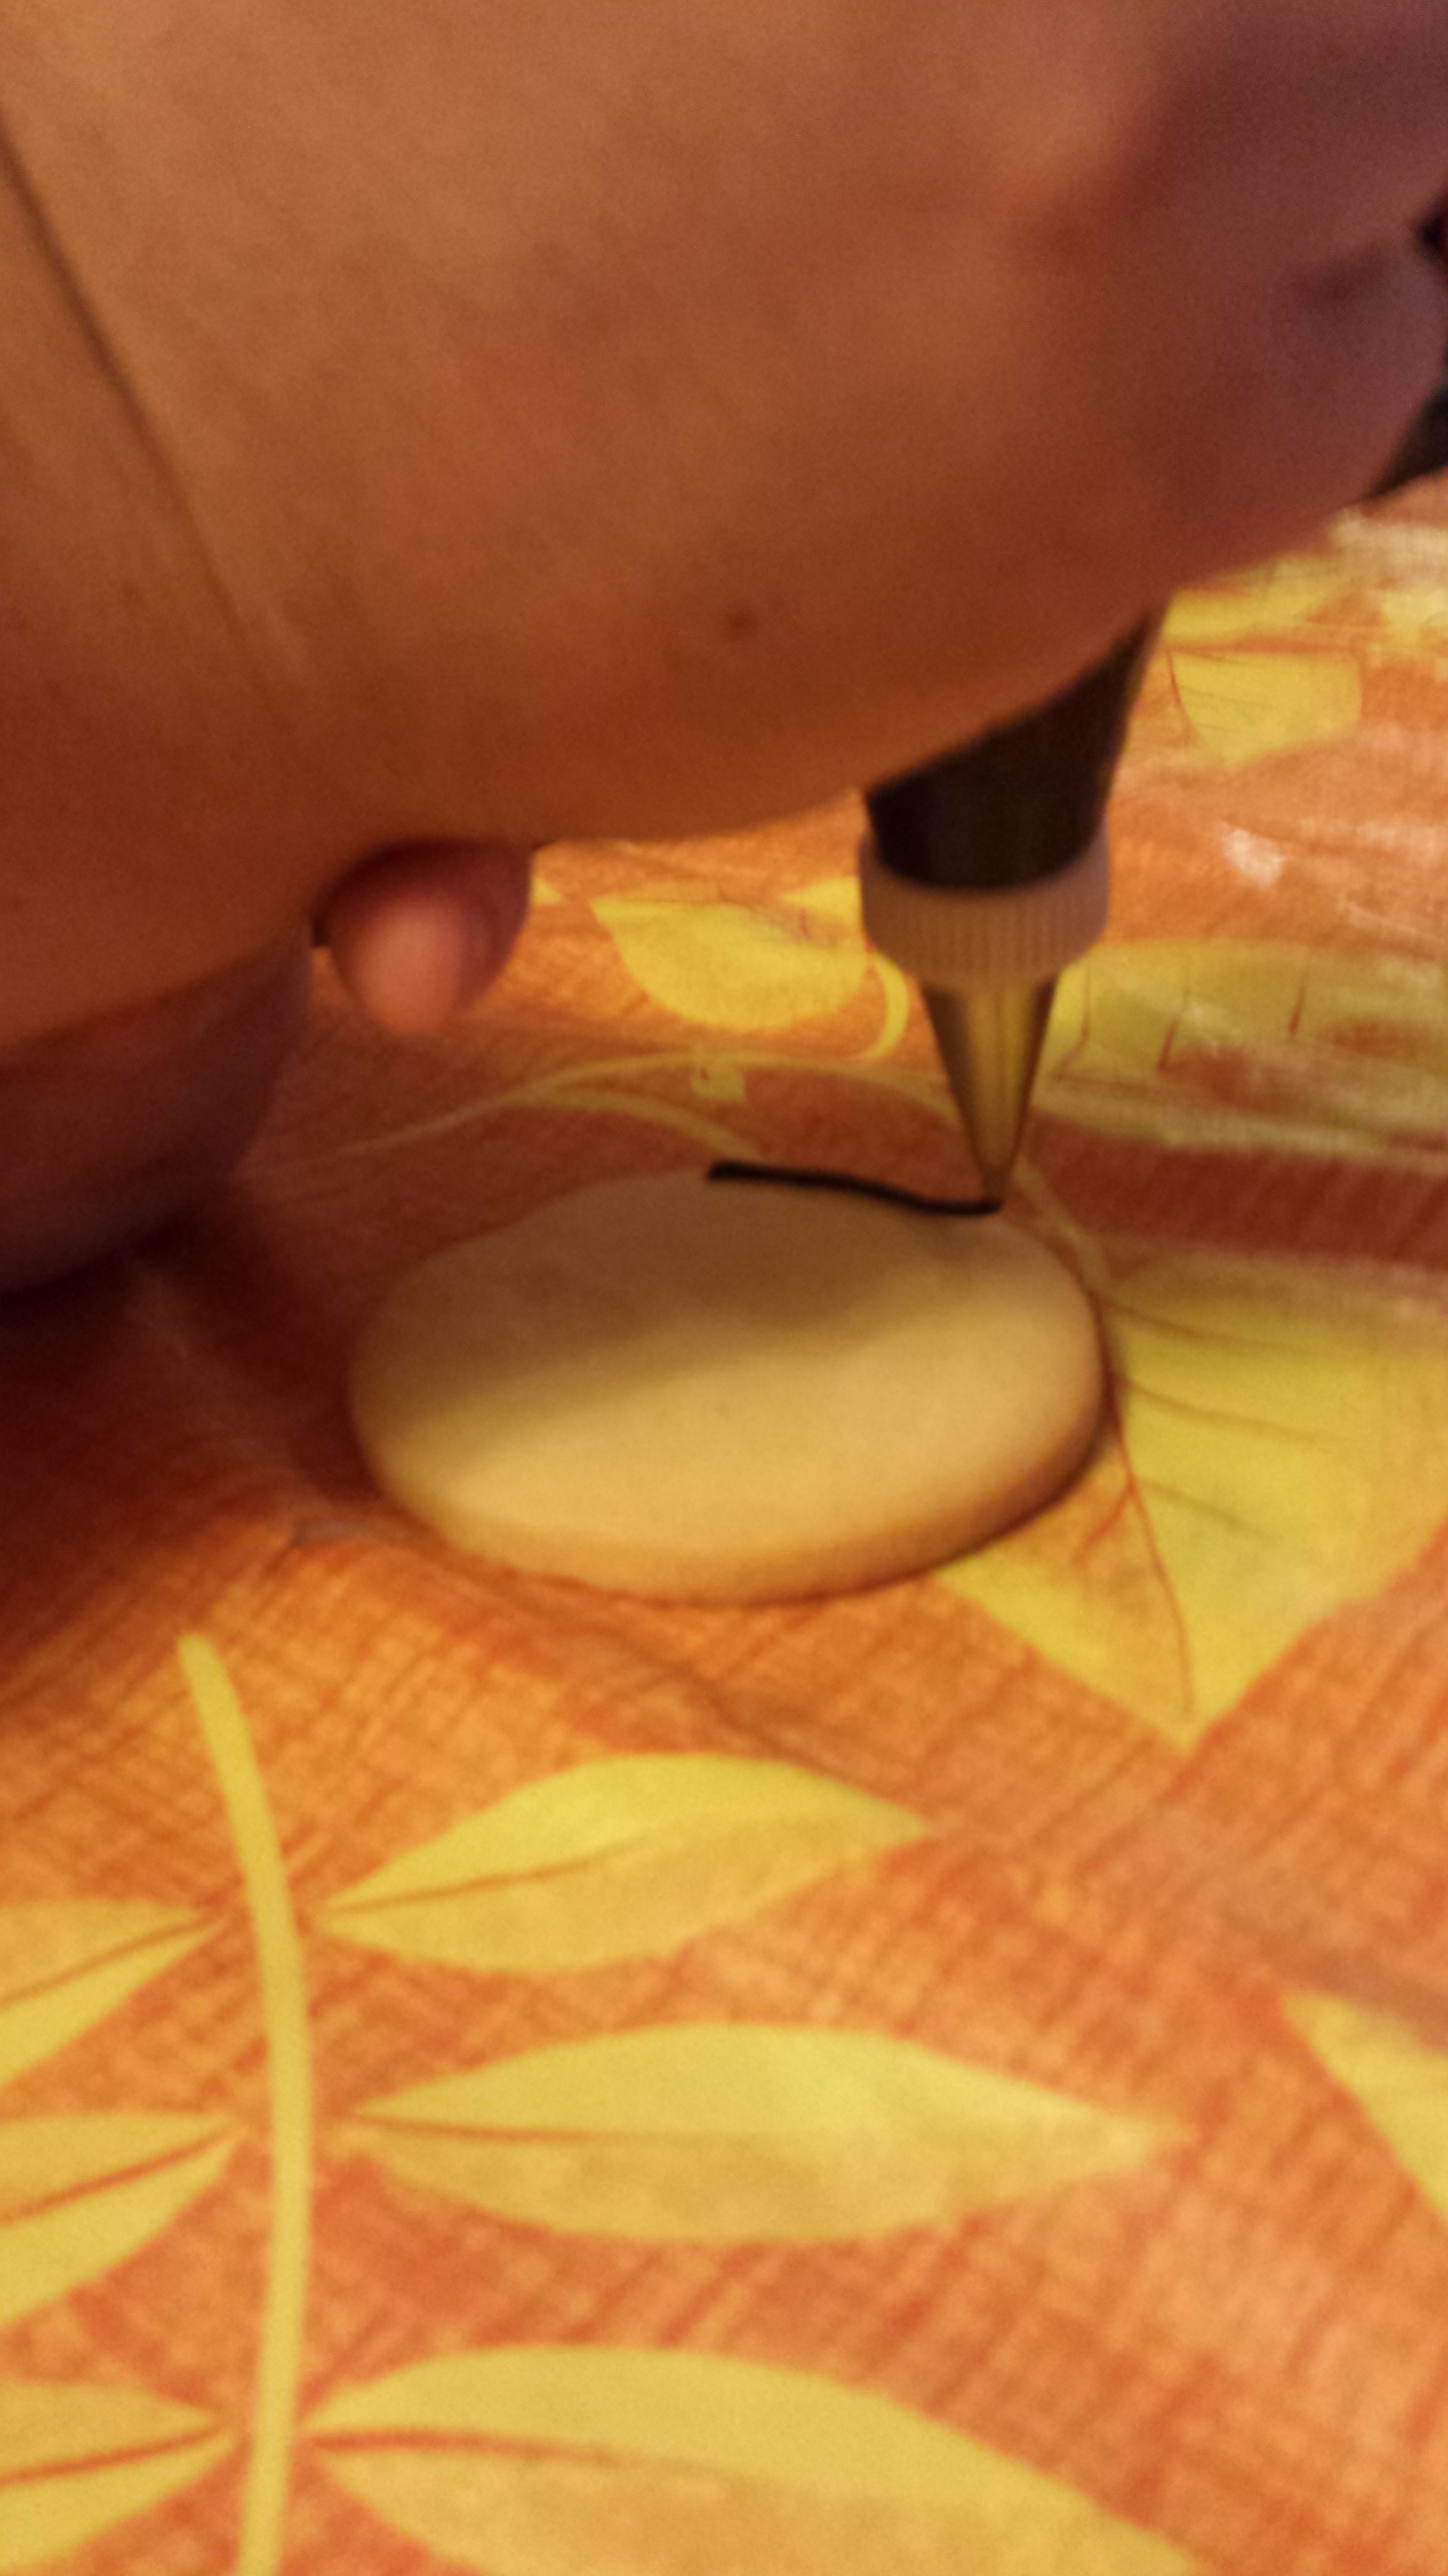
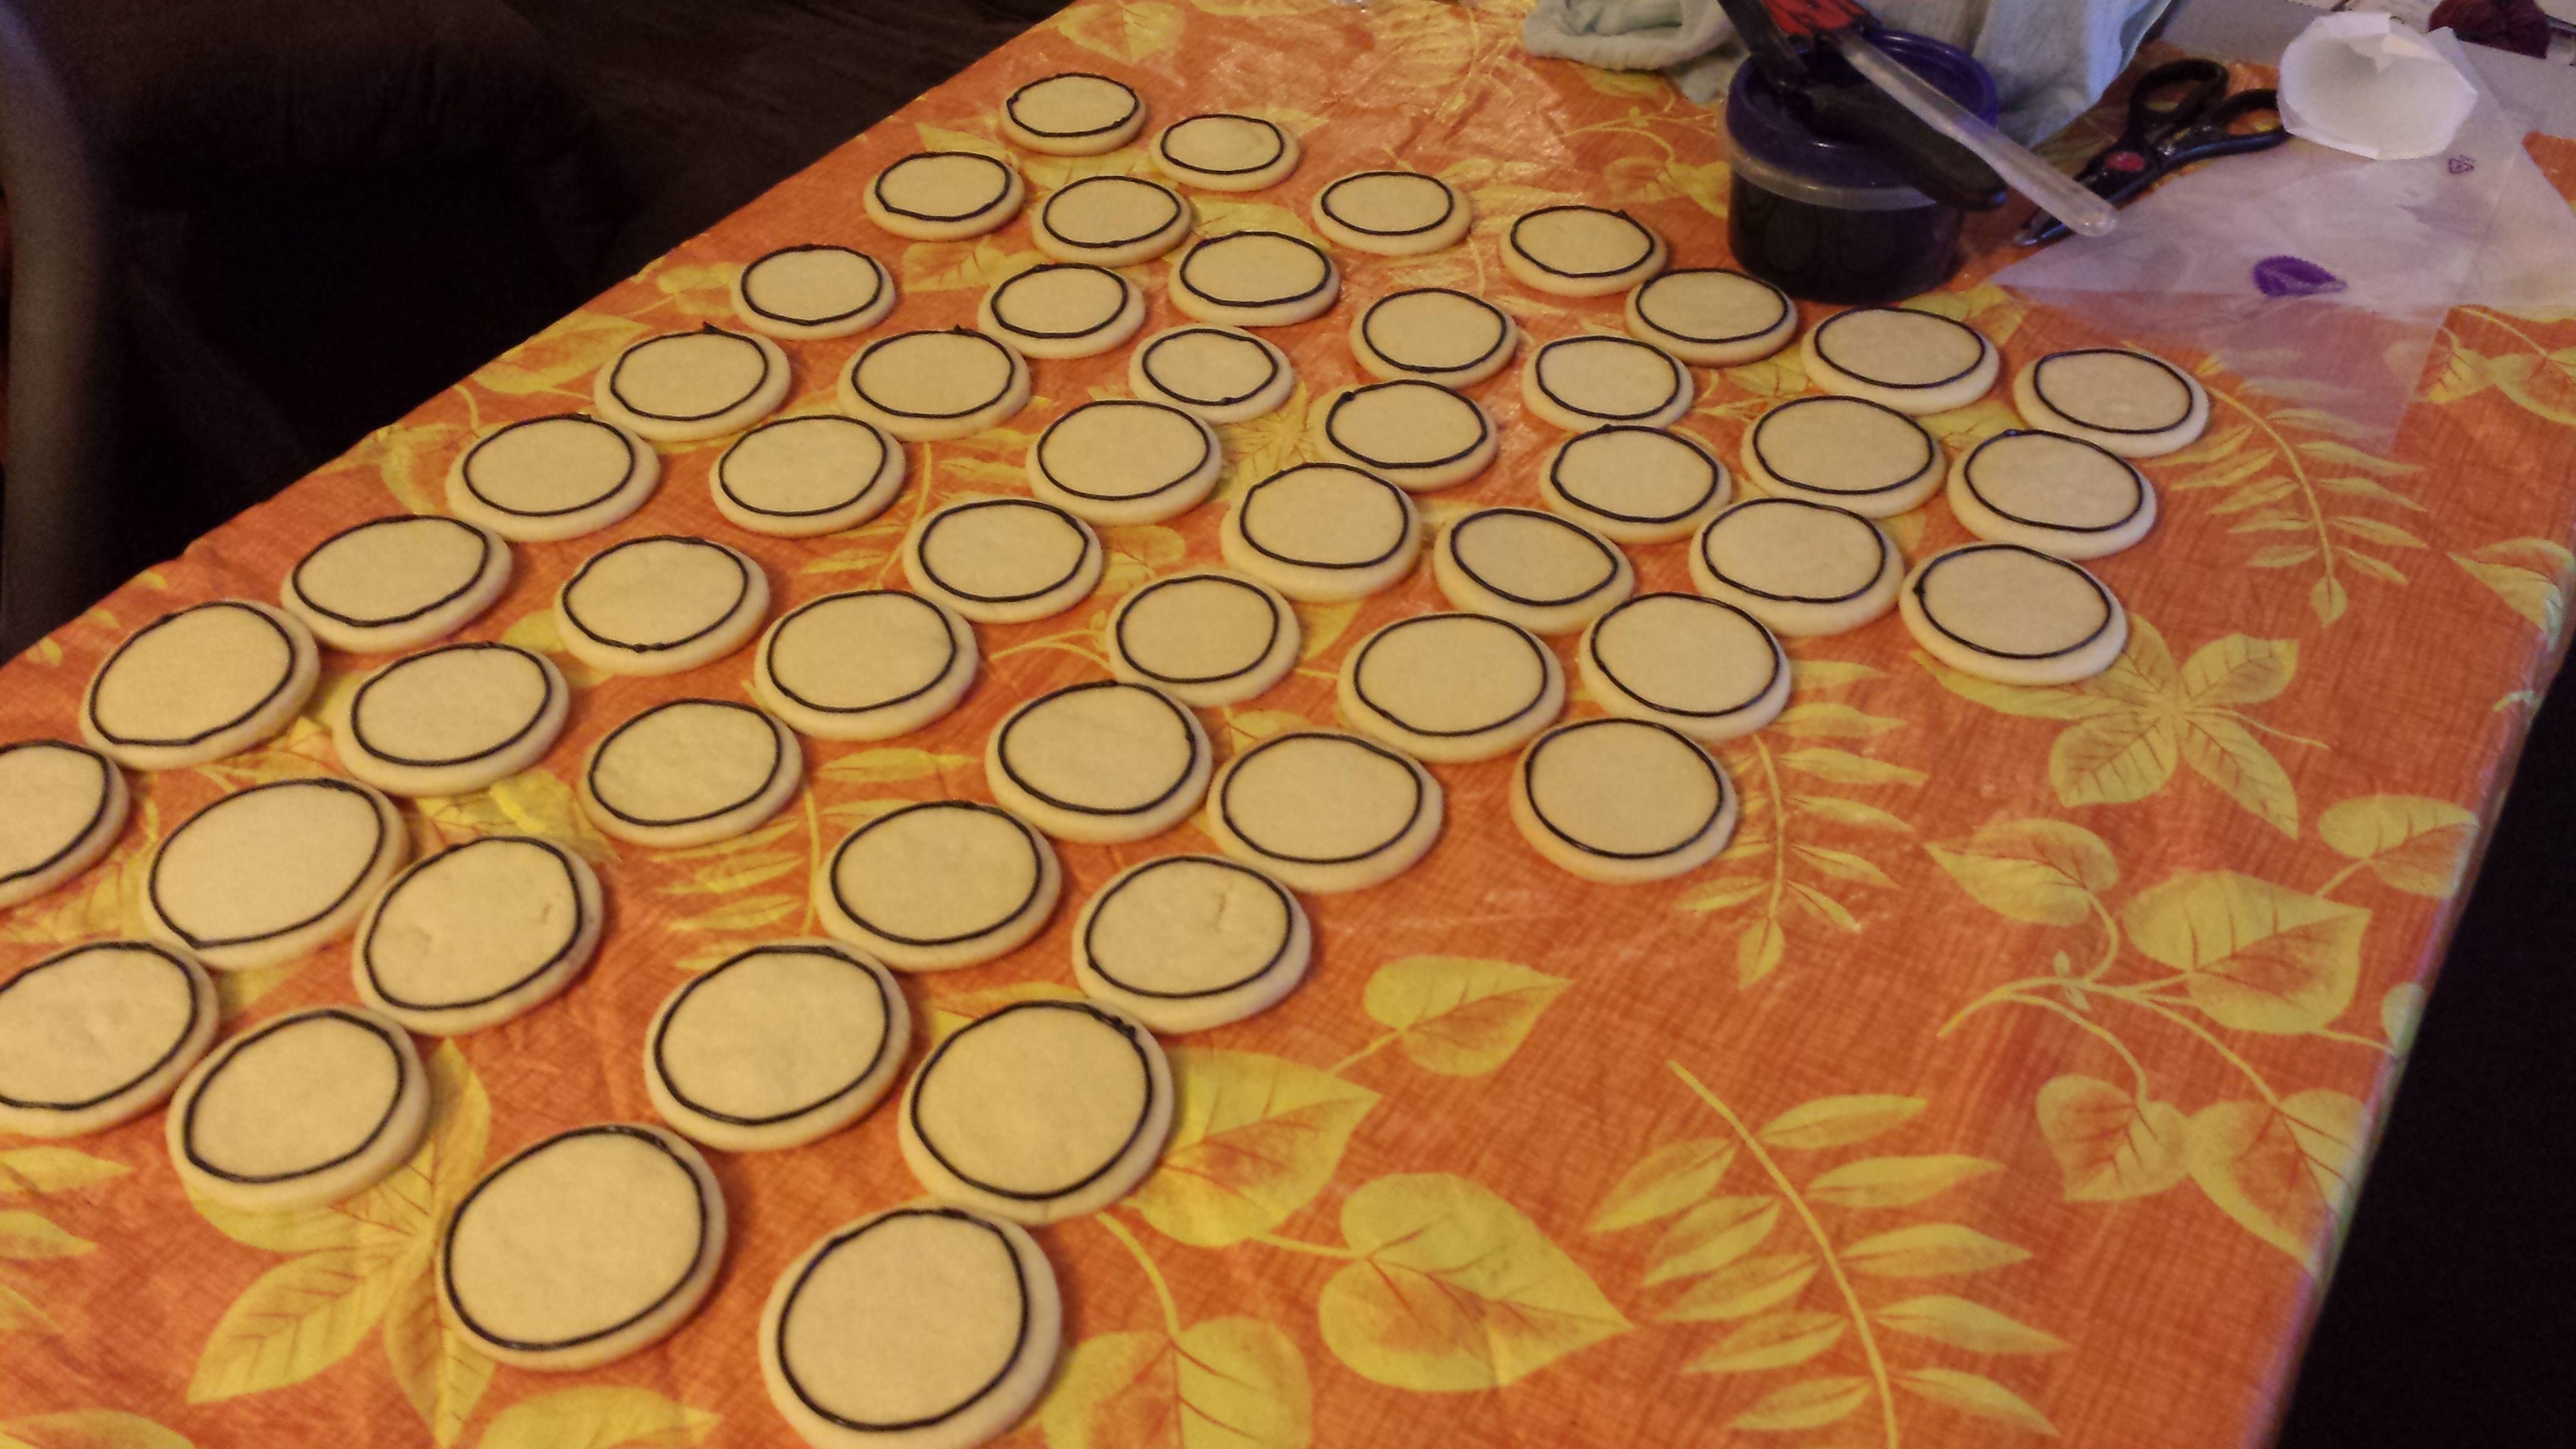
My friend and I spent the next three days decorating the cookies in stages, so they had time to dry in between sections done. First came the borders:
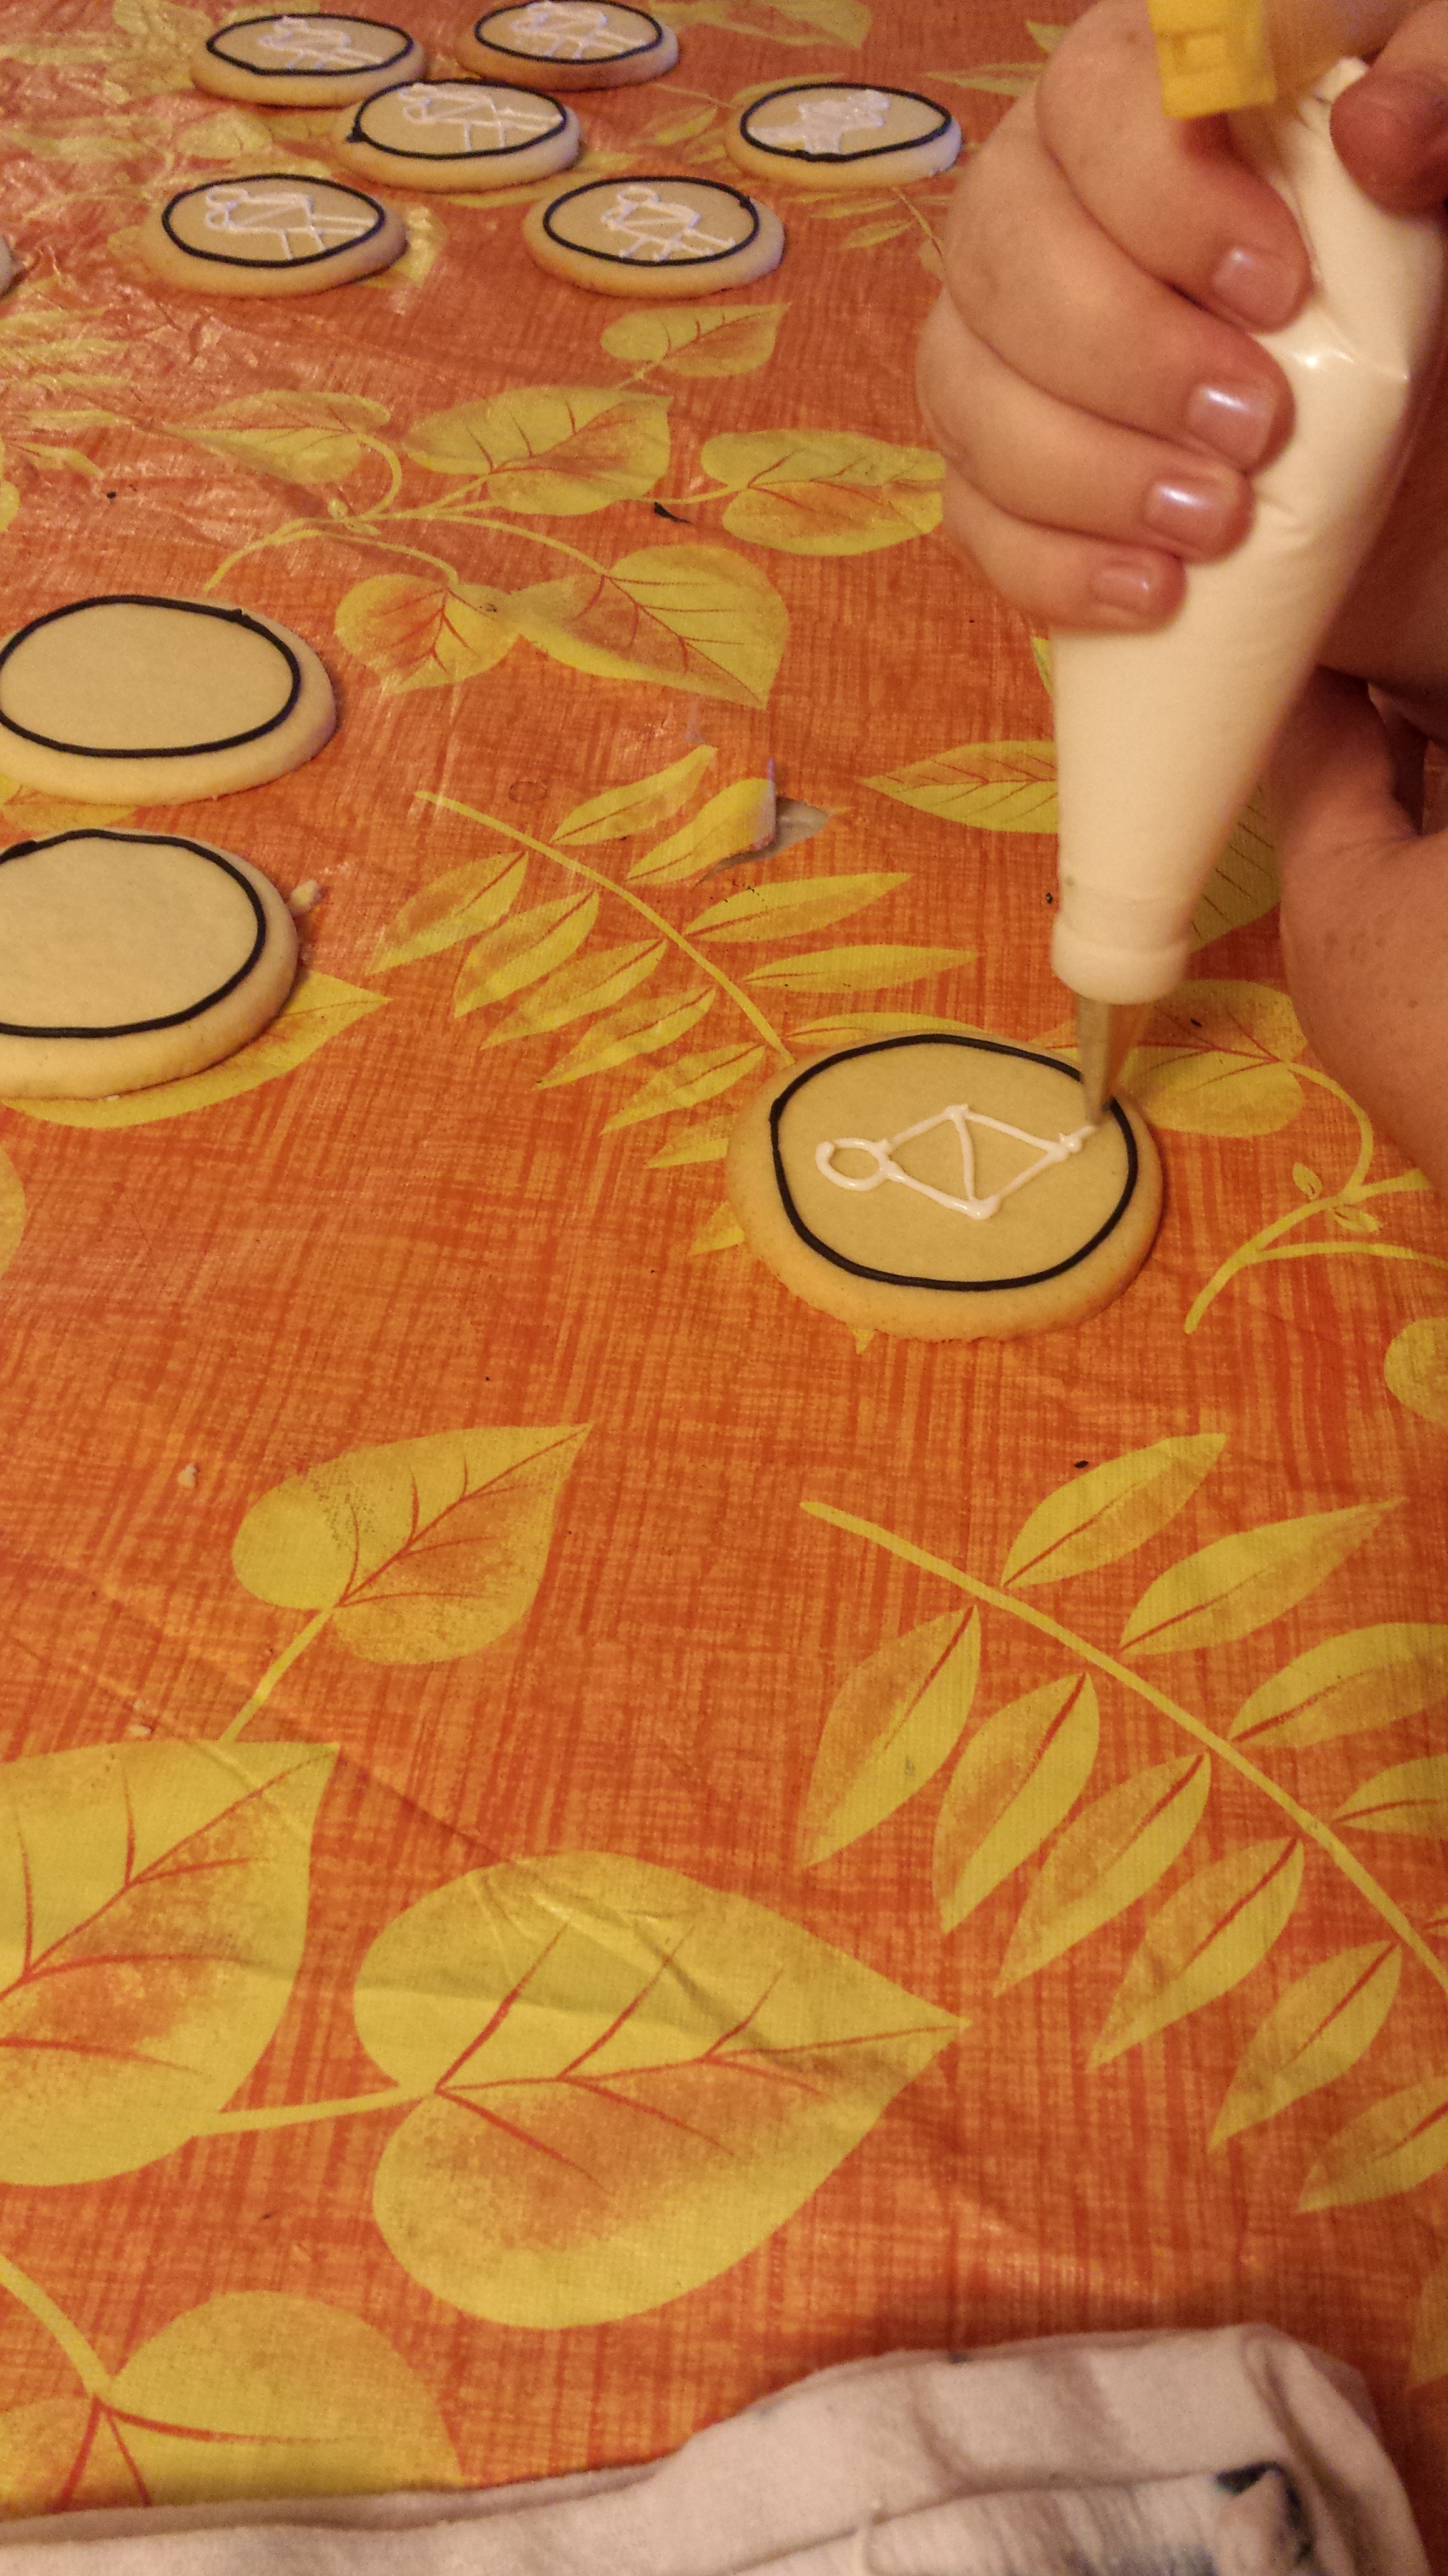
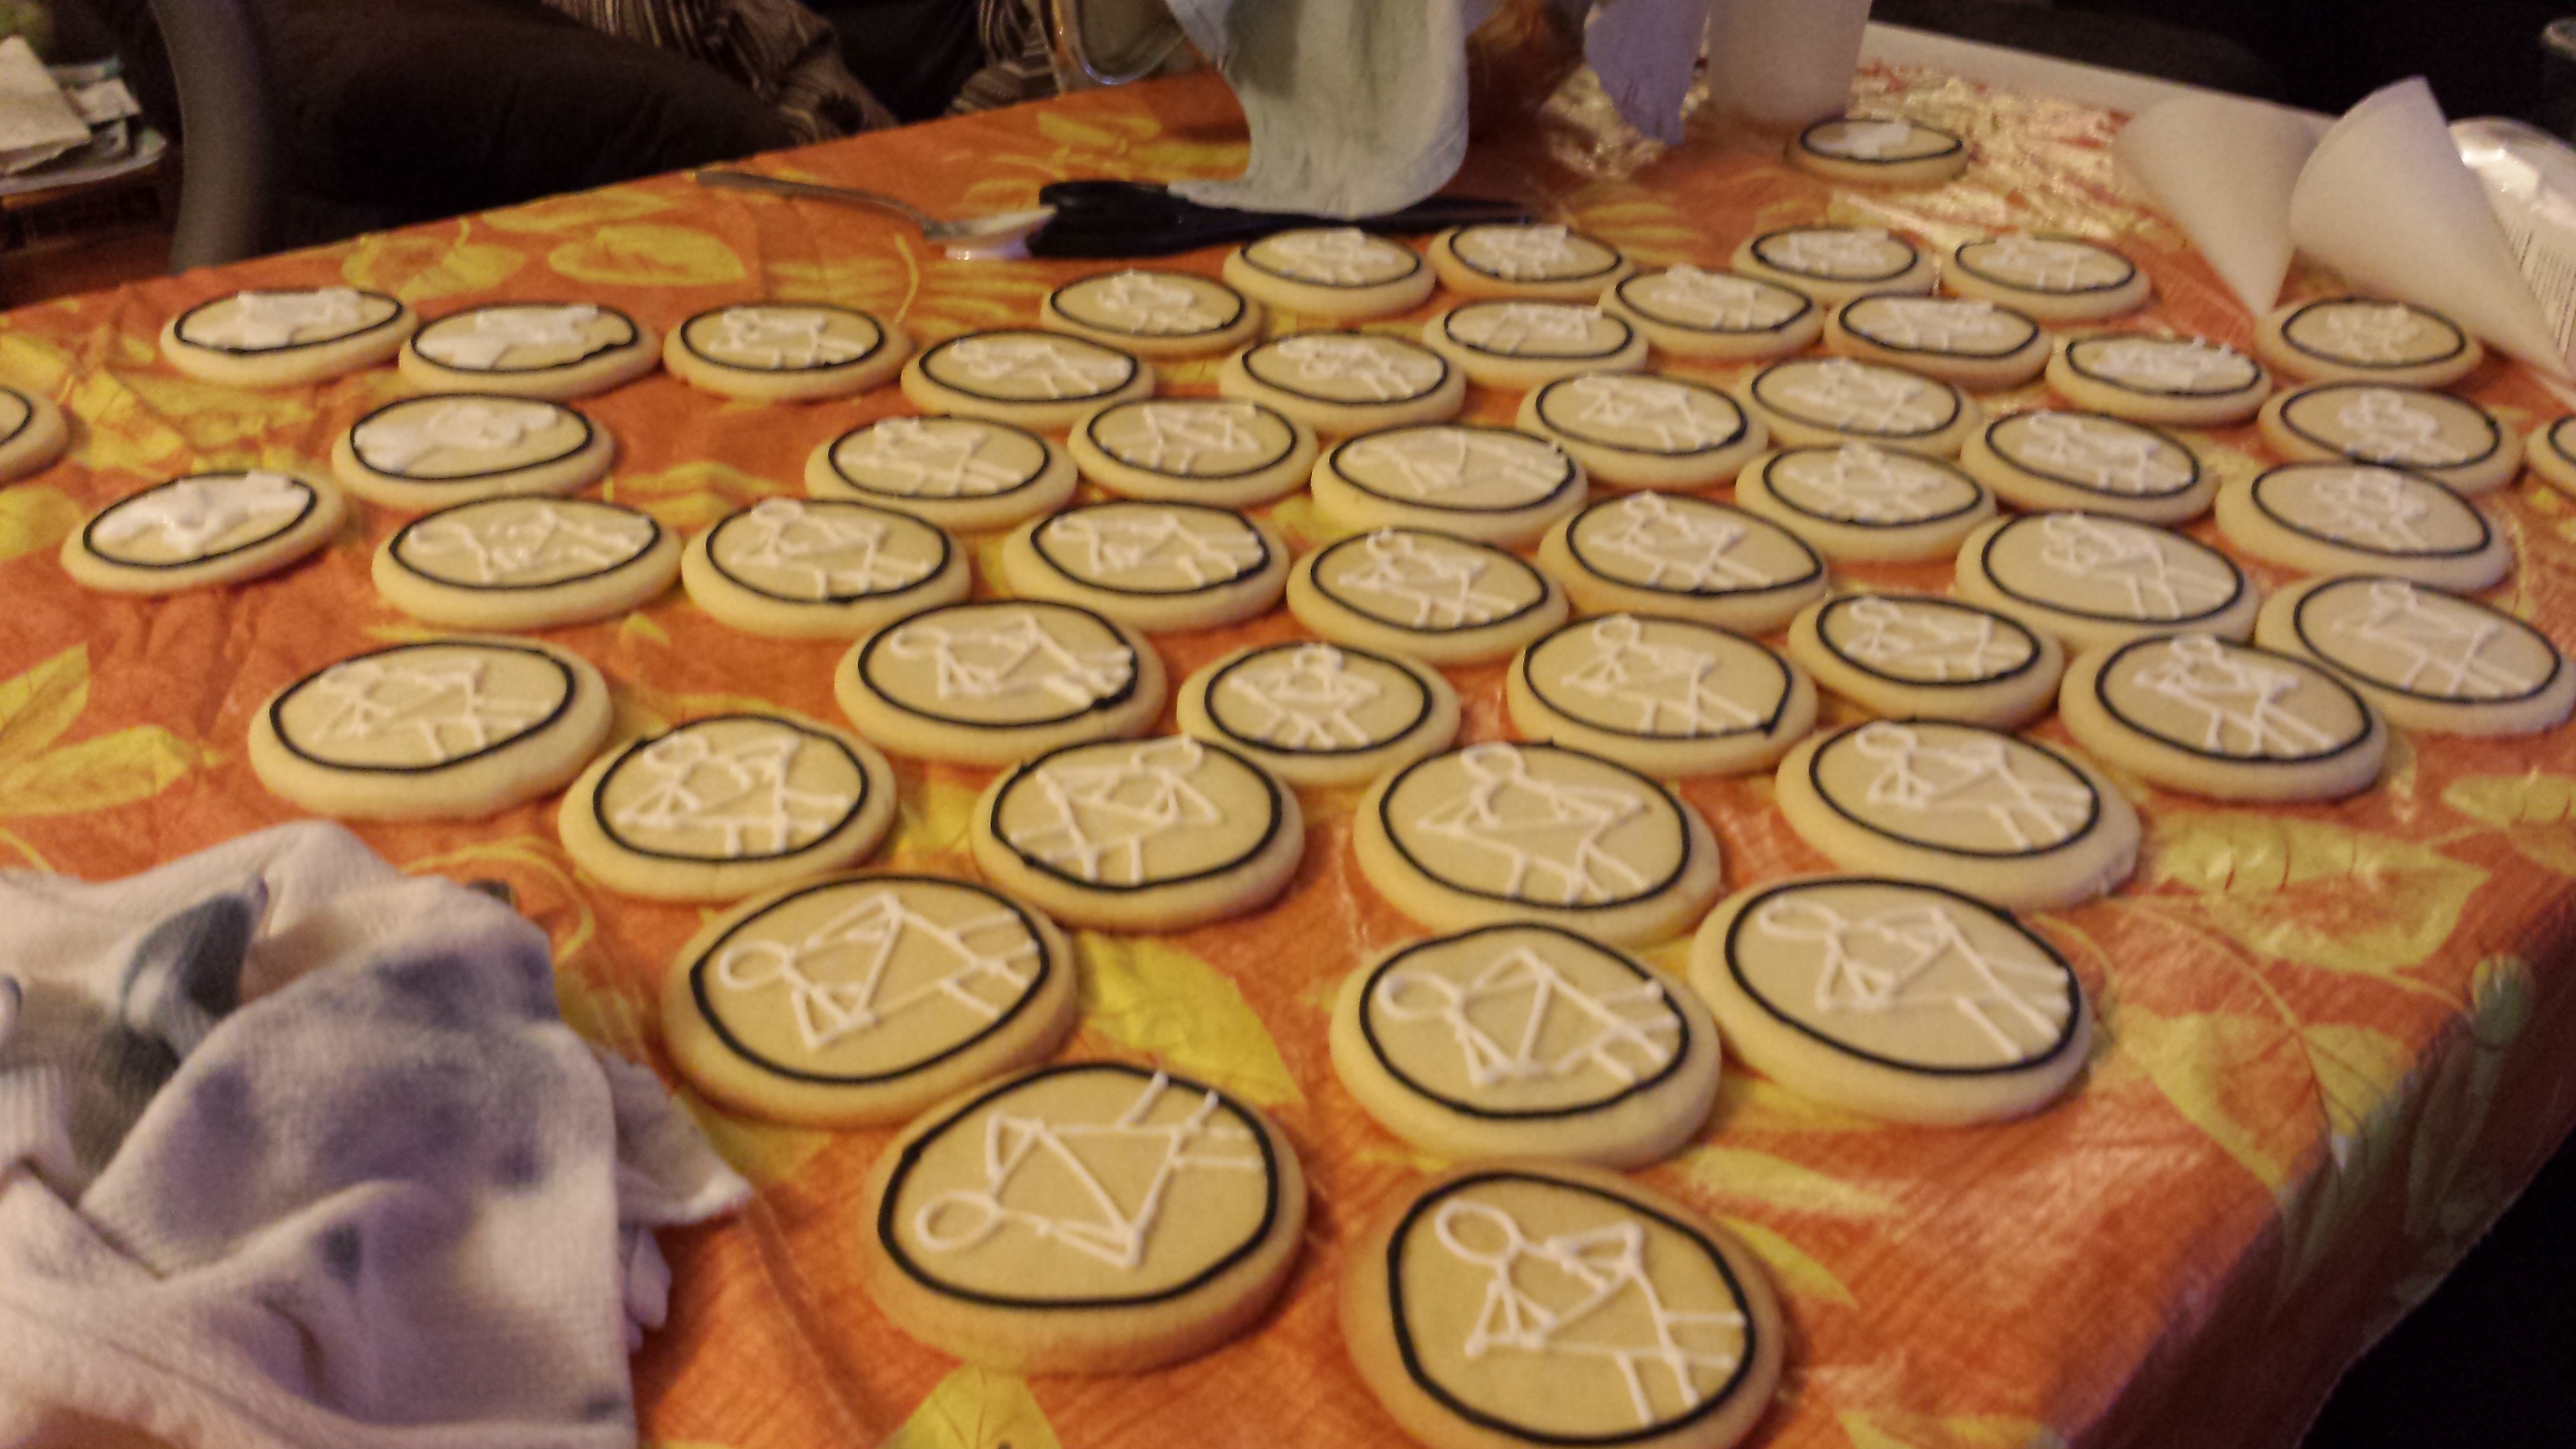
 Then came the white outlines of the “heroes”:

And then came the oh-so-tedious flow-work for the white silhouette fill-in, then the borders and flow-work for the capes in blue, and finally the red background on the remainder of the cookie (I forgot to take pics of those segments because we were ridiculously tired by then…oops…)
But wait, there’s more!
I still wasn’t completely happy with them, as they seemed to be missing the “oomph” that I like my creations to have. So, even though by this time my friend and I had worked on each and every cookie about 6-7 times by this point, I took it upon myself to find the “wow”.
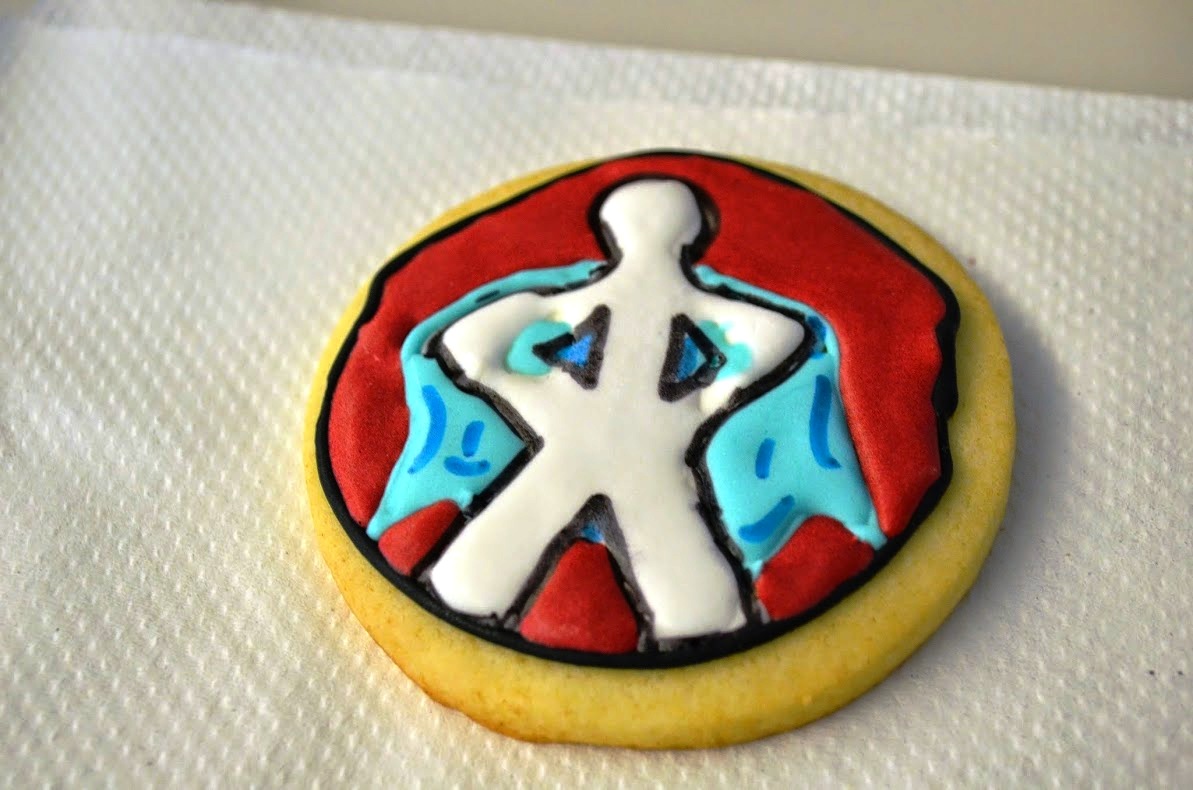
My solution? I got out my trusty food colour markers and hand-drew black borders around each silhouette, and then added blue “ripple” lines in each cape to give the appearance of fluttering fabric. Each cape was uniquely embellished, just as each hero was different from the others.
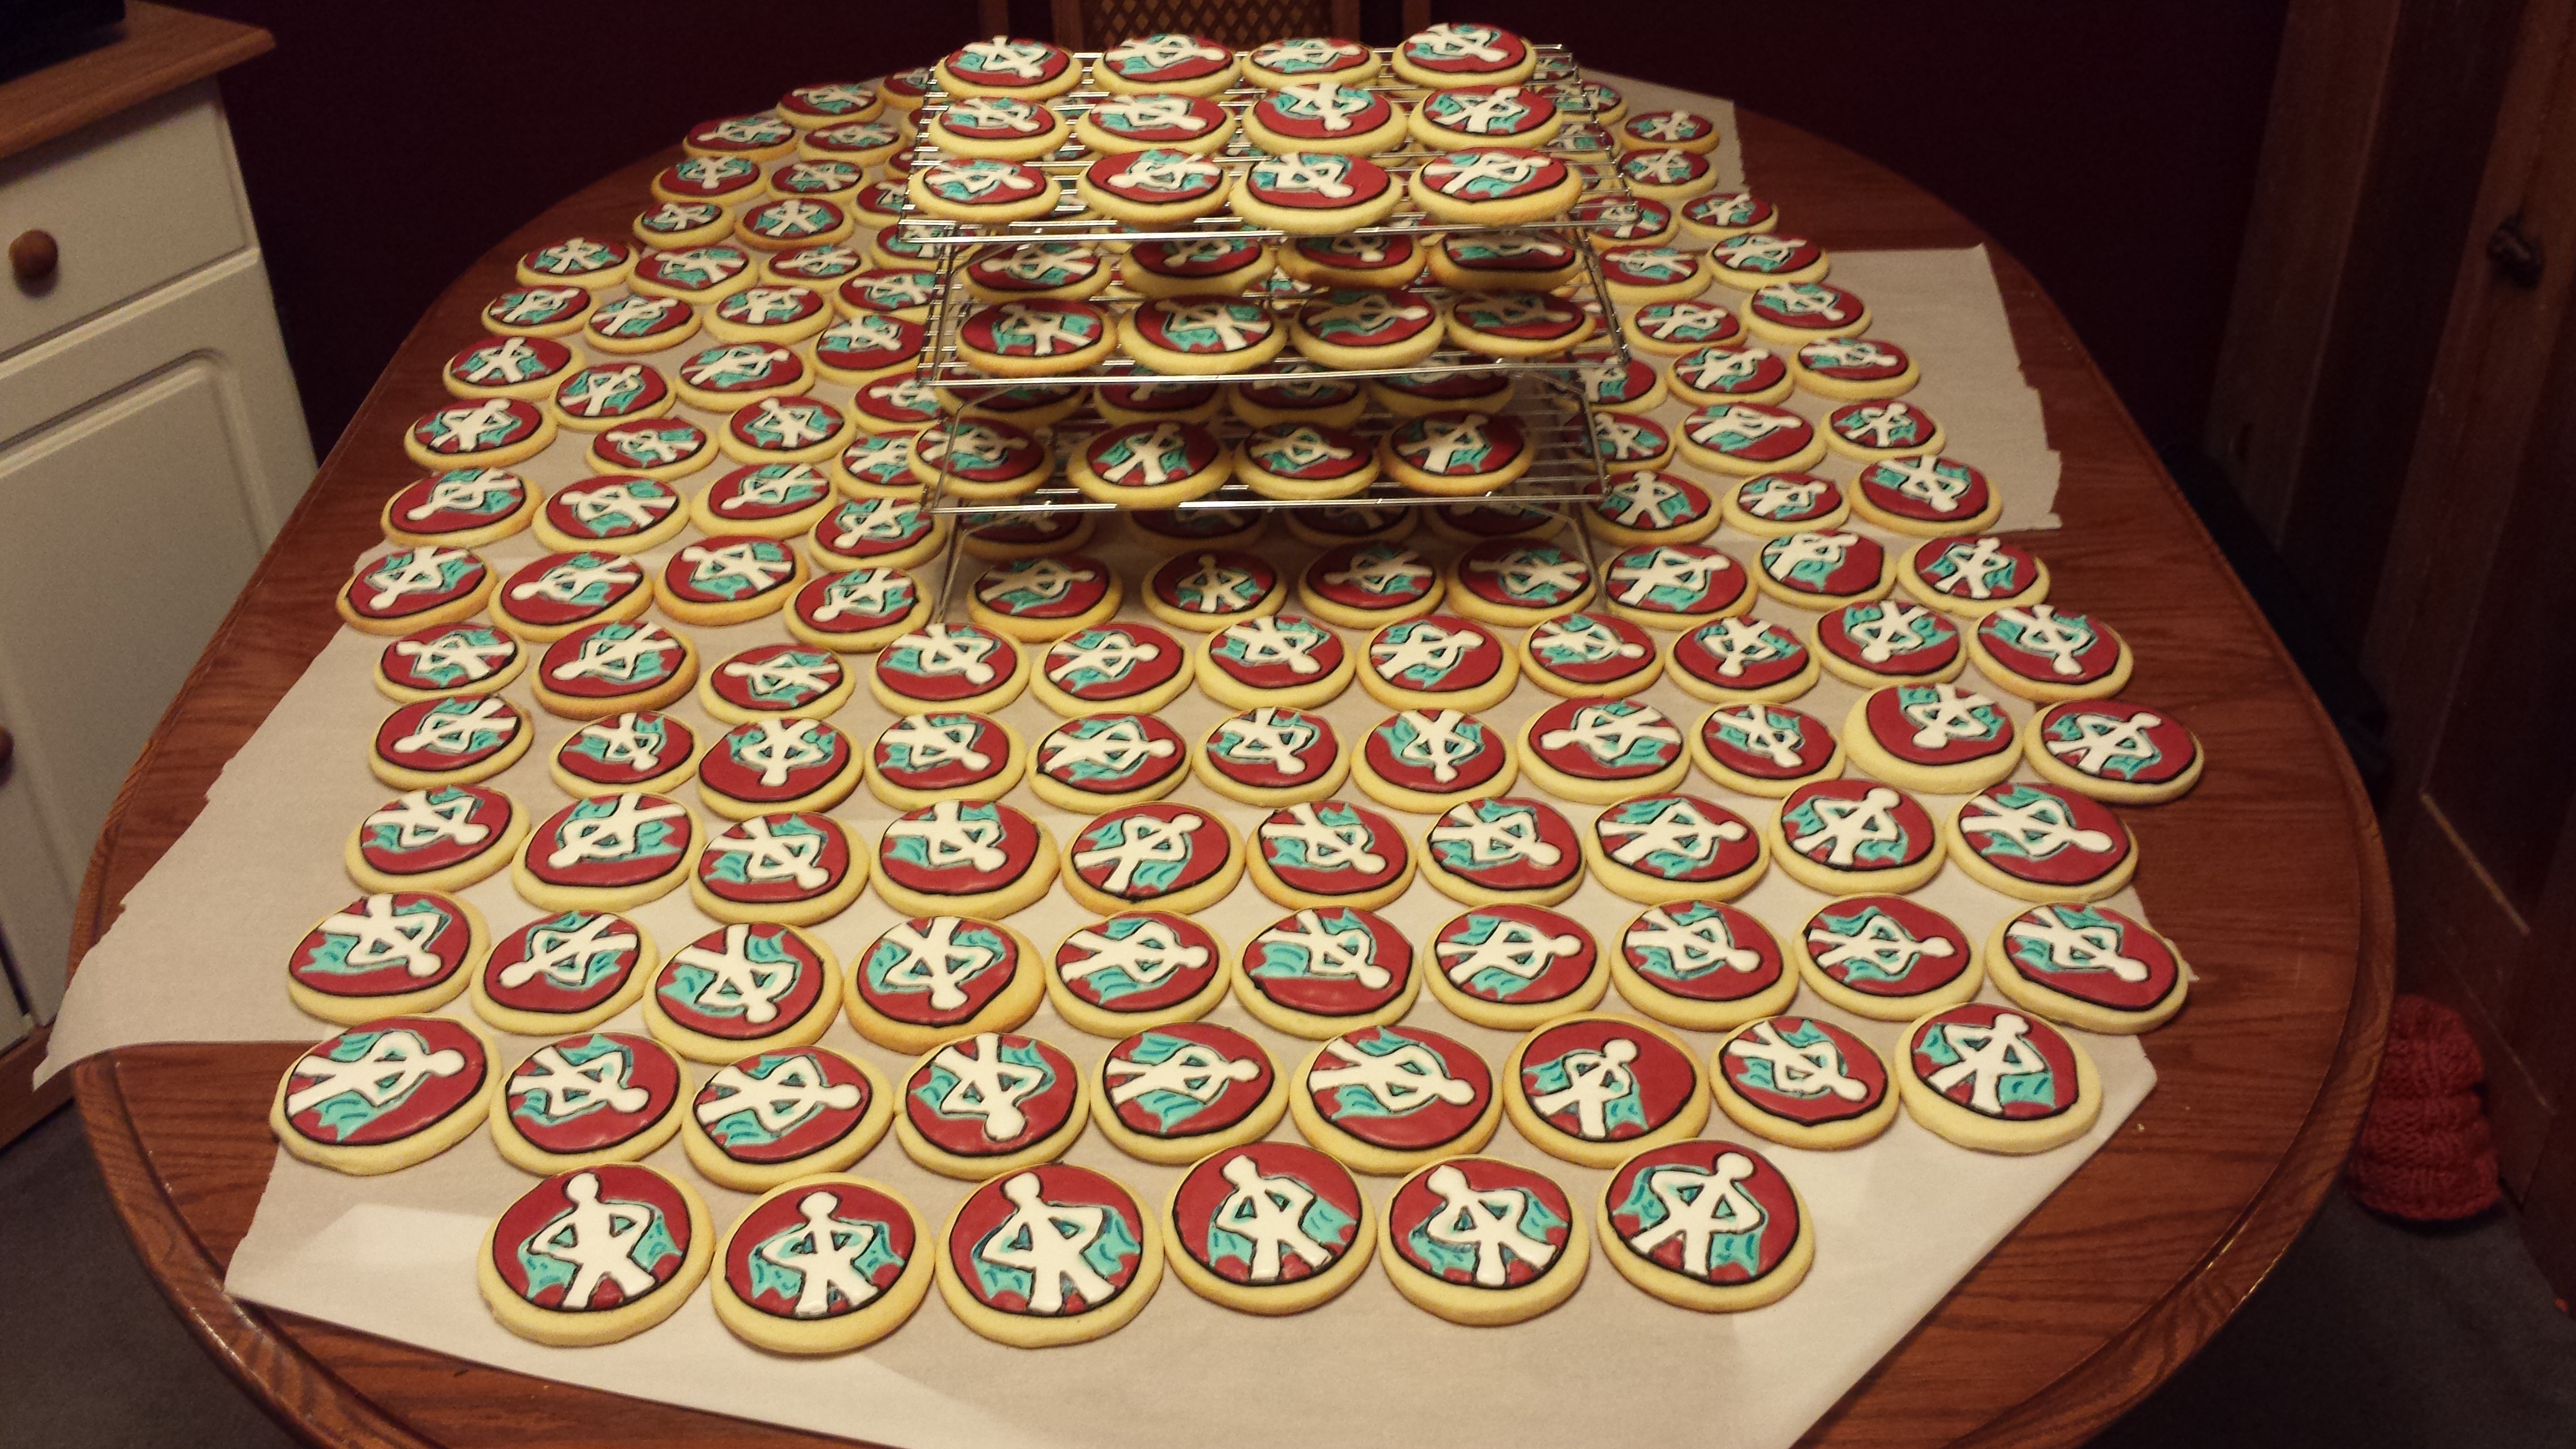
1 down, 199 more to go….sigh…
Well, at least the order was done in plenty of time, packed safely and carefully, and was delivered with no fuss or muss OMG early the next morning. These cookies are long gone now, having been eaten to the last crumb within a few hours of their delivery, and I have nothing but memories , a pretty cheque, and the thanks of a grateful client.
Not bad for a weekend’s work, eh?


One Comment Add yours