
It never fails; within a day or two of getting a professional manicure, I invariably have an overwhelming urge to bake something that requires a great deal of hands-on effort. After Tuesday’s mani/pedi date with a good friend I hadn’t seen in a while, it was inevitable that within 24 hours I would end up kneading a batch of bread dough by hand, because apparently that’s how I roll…
Roll, heh, geddit? Me so funny.
Ahem.
In any case, the manicure has officially been destroyed, but I’d say it’s all for a good cause.
‘Cause Bread, yo.
This is usually my “go-to” bread recipe, once again from my spirit animal, Edna Staebler. There are a huge number of variations for this basic bread recipe, a number of which I have listed below. Otherwise, this simple, basic recipe really shows why it’s a classic.
 Neil’s Harbour Bread

Original Source: Edna Staebler, Food That Really Schmecks
Yield: 3 large loaves or 3 dozen dinner rolls or 1 ½ dozen hamburger or hot dog buns
 1 cup lukewarm water
- 1 tsp granulated sugar
- 2 tbsp traditional yeast
- 2 cups lukewarm water
- ½ cup granulated sugar
- 1 tbsp salt
- ½ cup canola or light olive oil
- Approx 9-10 cups all-purpose (AP) flour

- In a large bowl initially warmed with hot water, place the first 1 cup of lukewarm water. Stir 1 teaspoon sugar into the warm water until it dissolves and sprinkle the yeast over the water. Leave it alone for about 10 minutes; by then, the yeast should be frothy and have risen to the surface. Stir together thoroughly, ensuring all the yeast is dissolved.
- Stir in the remaining water, sugar, salt and oil.
 Begin to stir in the flour, 1 cup at a time. Mix with a strong wooden spoon until it requires a fair bit of effort; reserve the last cup of flour as you may not need all of it, depending on the humidity. The dough will be a bit ragged and sticky, but should hang together fairly well and be easy to handle.
- Place the dough ball on a floured surface; sprinkle the top of the dough with more flour as needed, and knead until smooth and elastic. The dough should no longer be sticky at this point, but slightly tacky to the touch. This usually takes about 6-8 minutes depending on your kneading technique. (Protip: if you have a heavy-duty stand mixer, you can do all of the steps up to step 4 in your mixer using a dough hook).
 Lightly oil the bowl used to initially mix the
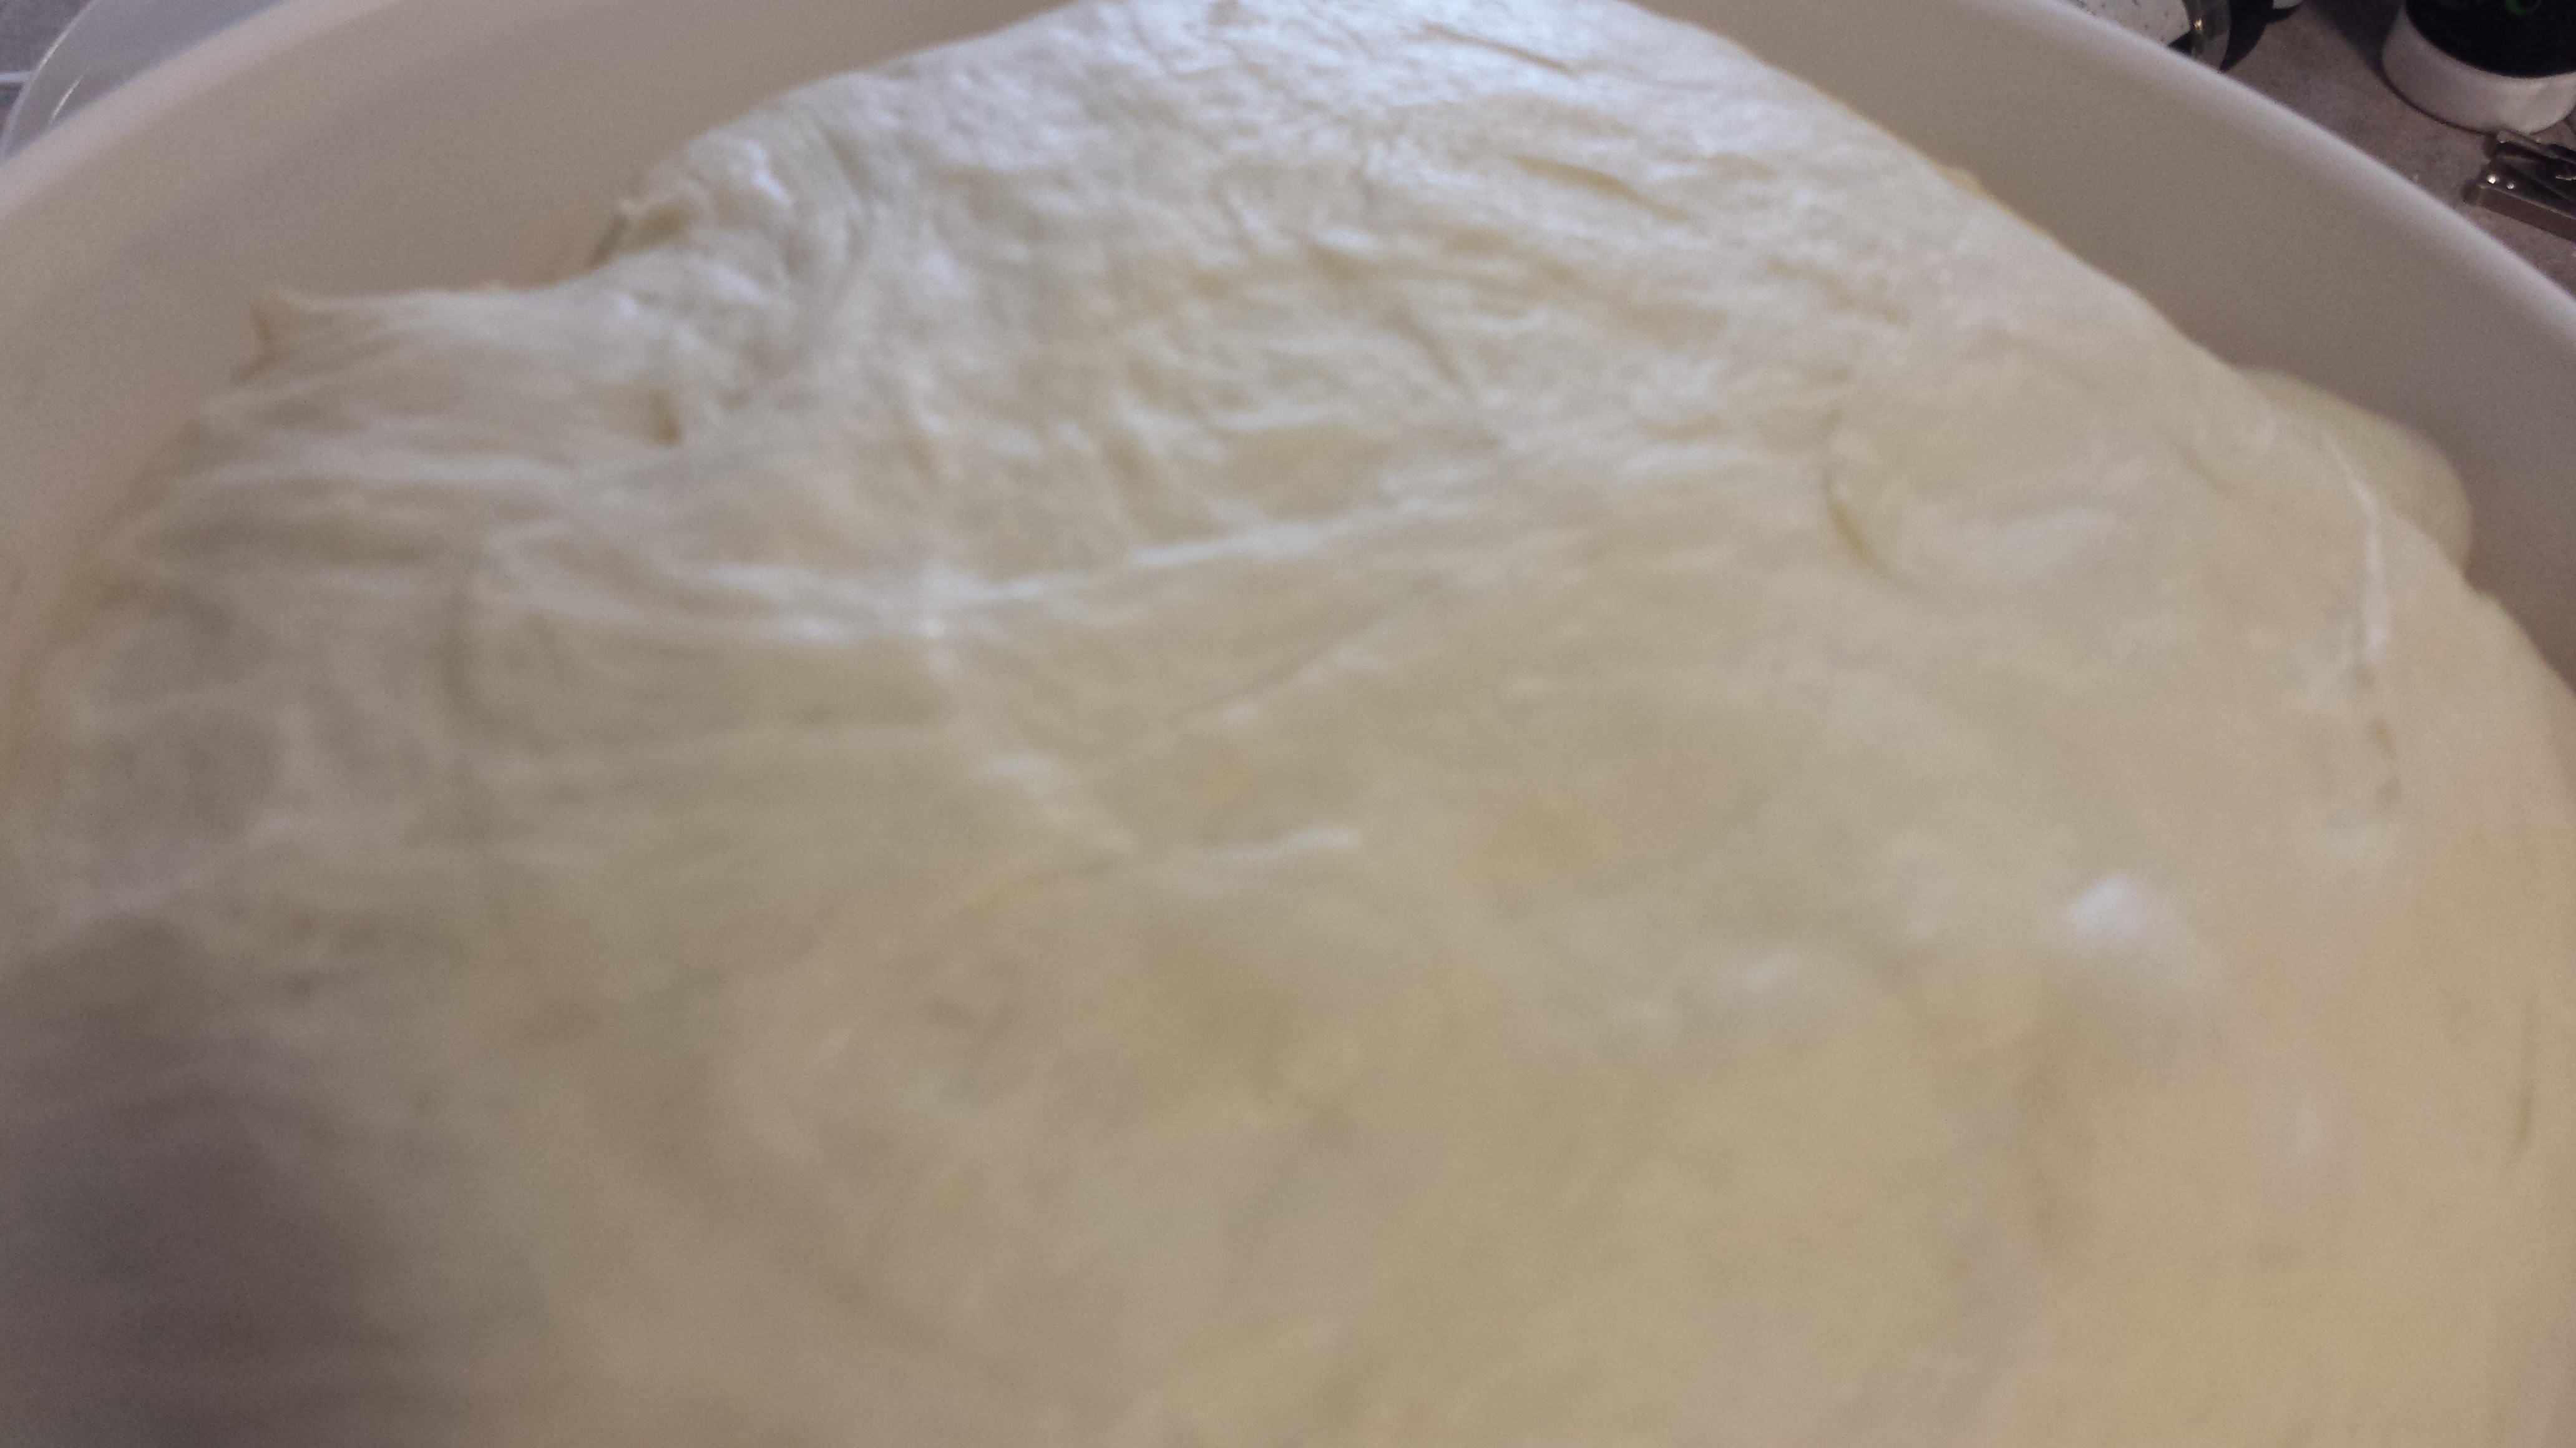
  dough, and place the dough back in the bowl. Cover it with plastic wrap and a tea towel, and let rise in a warm, draft free place for 1-2 hours or until it’s doubled in size. When you stick your finger in the dough, the imprint should remain. This is the first rise.
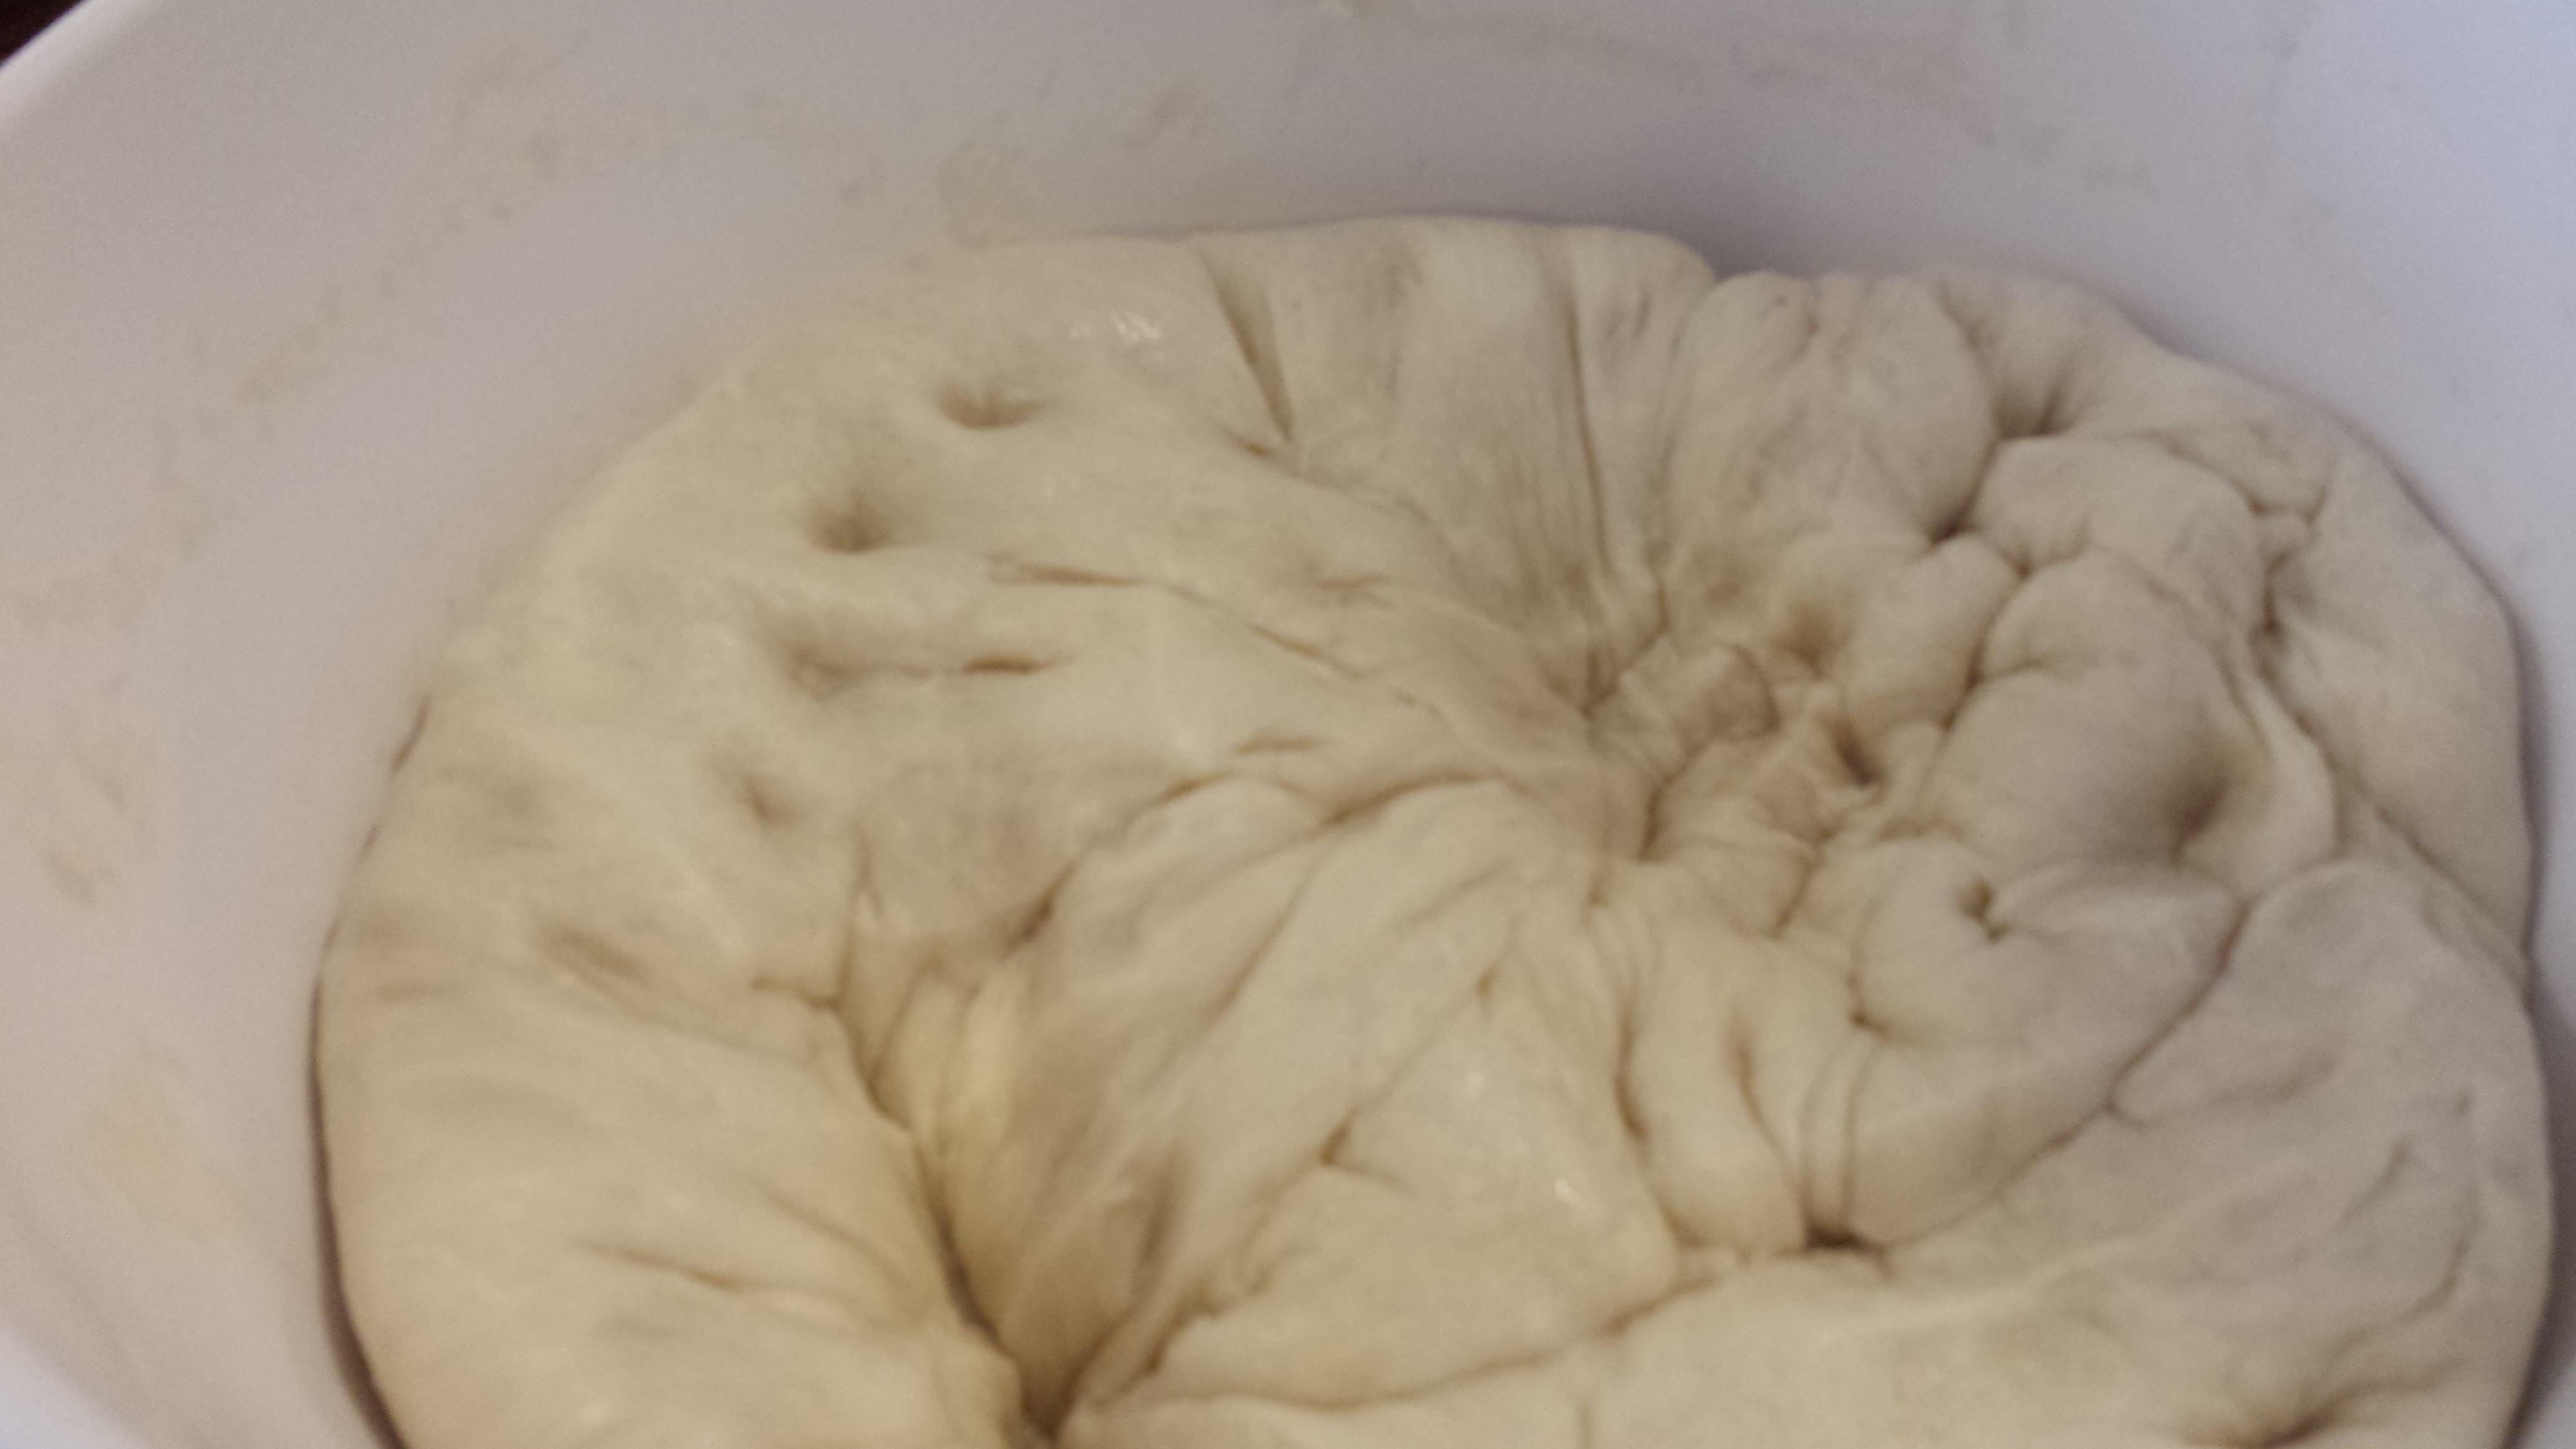
 Punch down the dough (Protip: this does not actually mean for you to violently *punch* the dough; this term means to use the knuckles of your fist to gently deflate the air out of the dough). Form the deflated dough into loaves or buns or your desired bread shape. Be sure to keep both unshaped and shaped dough covered with plastic wrap or a slightly damp, clean towel so they do not dry out.

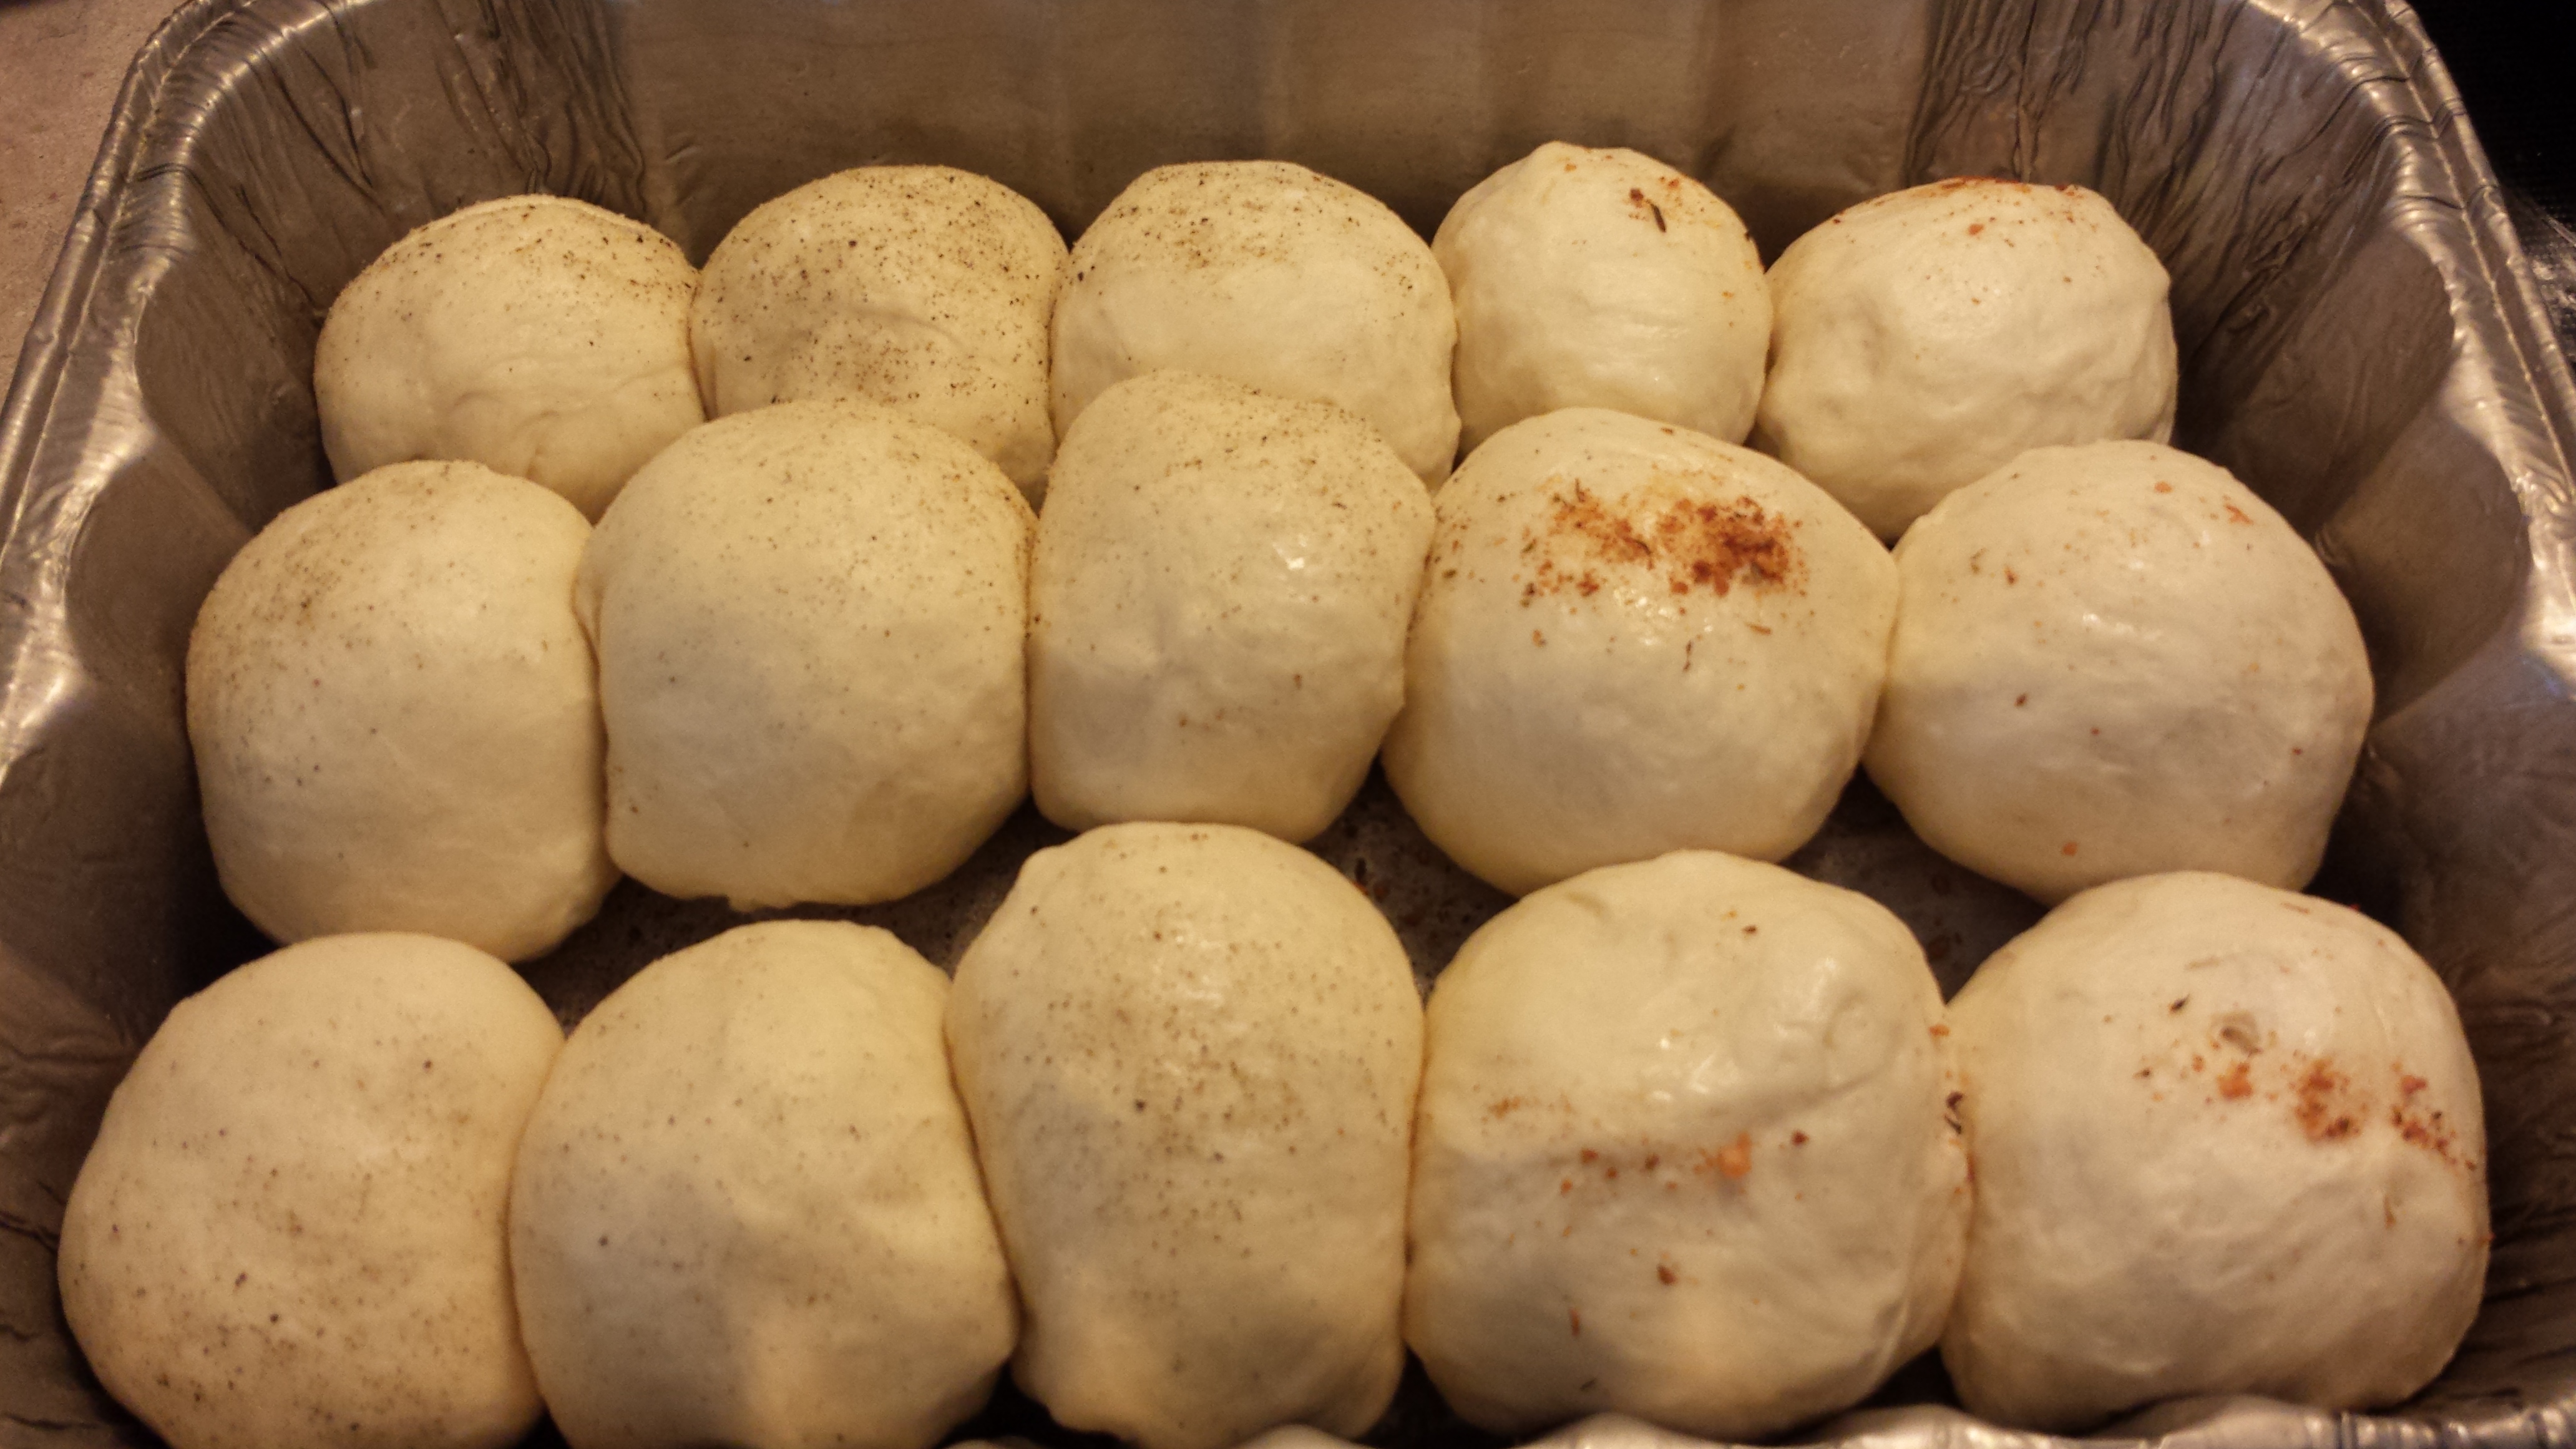
 Place the loaves into well greased loaf pans or trays, cover with wrap and a towel and let rise again for about an hour; this is the second rise. Preheat the oven to 400˚F at this time.
- Before placing in the oven, you can choose to give the breads an egg wash (1 egg beaten with 1 tsp of water, milk, or cream, gently brushed over the tops only with a pastry or barbeque brush) or an olive oil wash, and sprinkle toppings of your choice.
- Bake for about 20 minutes, carefully rotating pans at the halfway mark to ensure even browning, until all loaves or buns are golden top and bottom, and loaves sound hollow (pick up with a clean, DRY towel, turn over gently, and tap the bottoms).

- Remove from pans and let cool on a rack for at least 20 minutes…before losing all restraint and busting out the knives and butter for a delicious still-warm-from-the-oven treat!


Some suggestions for topping flavours: sesame seeds, poppy seeds, cracked black or pink peppercorns, coarse salt, prepackaged spice blends (Montreal Steak Spice, Piri Piri spice, seasoning salt, lemon pepper, garlic salt, etc.), crushed and diced herbs…the list is virtually endless. These buns and breads also work well with sweet toppings, if that’s your preference; you can sprinkle each egg washed bread with brown sugar or cinnamon sugar, or use vanilla or other flavouring extract thinned with water instead, or even thinned jam!
This recipe is also great for making cinnamon rolls; I’ll be making and posting about those soon – yum! You can also use this recipe for raisin bread, or even a yummy herbed cheese loaf; just knead in a cupful of shredded sharp cheddar cheese and a handful of fresh chopped parsley or other herbs to the dough before the second rise, and save a little cheese to sprinkle on the top as well. You can also substitute up to 50% of the AP flour for whole wheat flour if you’re looking for a little more nutrition; any heavier flours such as rye or cracked wheat won’t work as well, as this recipe yields a light and simple bread with not a lot of strength to hold up the heavier, less-gluten-rich flours, but if you’re willing to experiment with the more advanced flours, you just go ahead and rock on with your bad selves!
The friends for whom I made this bread on Wednesday seem pretty excited about it; there’s little better than coming home to the smell of freshly baked bread…at least in my opinion. It’s apparent (at least to me) from the pics above that I had to improvise a little when it came to making the bread; with no loaf pans, or even a pastry brush, my free-form loaves are a little wonky. I’d definitely recommend that for this recipe, it’s best in either pull-apart bun form or in traditional loaf pans for structure.
As for me, I’m just glad I satisfied my bread-kneading impulse for a little while at least. It’s just killer on the mani’s, man..


